Showing posts with label macrame. Show all posts

Friday, June 3, 2016

The Art of Failure: If at First You Don't Succeed...

by Sherri Stokey


Ever have one of those days?  Yesterday as one for me.  I couldn't wait to get home from work so I could work on a macrame idea that had been taunting me.  It was a totally brilliant idea, too; one that would revolutionize macrame knotting to be sure.  I've had this idea for a bracelet for a couple of years now and I can picture in my mind what I want it to look like, but no amount of mental problem solving has led me to the method for actually knotting the piece.  Until yesterday.  It started with a tiny little burst of "what if..." and ended with me mentally working through the entire design several times throughout the day.  I'm sure my "real" job suffered from my distraction, but some days are just like that.  And when I finally got home to my work board, this happened:


And no, this isn't what I had in my mind at all.  Not even a little bit.  I tried to salvage the session; you can see where I switched tracks after an inch of knotting on the bracelet.  It takes a while to get the cords all set up even to experiment, so once I decided I didn't like where this piece was going, I decided to make the best of the situation and at least try something else.  And guess what?  That didn't work like I wanted it to, either!  At that point it became obvious that the planets just weren't aligned properly or there was a blockage of the universe's karmic chi or something.  Whatever the reason, my mojo had flown the coop.

Yes, folks, you heard it here:  I fail.  Not everything I try works on the first (or sometimes second or third...) try.  Sometimes I can't ever get it to work.  Sometimes my skills just aren't on par with my imagination.  Want proof?


That whole project was a disaster from the start with the hundred-odd cords which ended up knotted and stuffed under the focal stone to fill the gap under it caused by the ugly, odd high bezel.  I did learn how not to do some things from the whole experiment.


This pink monstrosity was an attempt to work with Superlon's micro cord and for size reference, the metal frame is an earring finding.  It was tiny and tedious and just didn't work.  It was much better in my mind, I promise.


This hot mess happened when I was trying to work out my Zig Zag bracelet.  The curves were just awkward, so I abandoned the pattern and started trying out different curve methods.  At least this one has a happy ending, as I did finally work it out:


Sometimes my failures aren't even totally my fault:


Okay, I guess technically I did leave my cord hanging off my work board onto the carpet where the vacuum could get it, but the poor bracelet didn't do anything to deserve this.  

And then there are some failures that are really heartbreaking:


This free form piece was supposed to be an entry for a collaboration challenge working with Laurie Ament who makes beautiful lampwork beads.  It just didn't have the "wow" factor I was looking for and I think it's because I started with the wrong colors of cord.  There just isn't enough contrast with the turtle and no amount of fiddling fixed it.  I haven't had the heart yet to cut it up.

All in all, there are about fifty billion ways something can go wrong and only a handful that work up into something beautiful, so I guess we need to be a lot more appreciative of the successes.  

Last night I finally gave up and watched Roots.  I'll take another run at it today.  How about you?  How do you deal with failure?


Friday, February 5, 2016

Seeking Closure

by Sherri Stokey

Have you ever had one of those pieces that just won't come together like you want?  I'm always thinking "outside the box" which translates into "always running into snags".  It's an occupational hazard, I think.  My latest conundrum was finding a closure for this micro macrame cuff bracelet:

Micro macrame cuff in progress.

I have a favorite button (doesn't everyone?) that is copper with a dragon on it and wouldn't you know since I love it the most, they discontinued manufacture of it a couple years ago.  I bought up all I could find and have a tiny stash of them I hoard jealously and use only on piece deemed worthy.  I really wanted to use one on this cuff, but I also wanted to use copper bars on the ends.  I didn't want to just do a button and loop closure, I wanted to make an actual clasp that would have the button on top of it.  I started messing with wire and the button and ended up with this:

Micro macrame cuff with dragon button closure.

It doesn't look too bad, do you think?  Until you fasten it, and then it does this: 

Micro macrame cuff with dragon button closure.

Well, pooh.  That's not exactly what I had pictured in my head.  I wanted the hook under the button like that, but hadn't anticipated the gap the hook would create, and that fact that it would put the button off center.  The hook part of the closure and the loop it went through just stuck out too far.  If I'd added an extra big loop on the other side to offset it, it would have made the bracelet too large.

Button with hook.

Then I thought maybe I could do a sort of "S" clasp instead of just the hook.  That would make both sides equal.  I just had to make sure to keep it as small as possible so it wouldn't add length to the overall bracelet.

S clasp with button.

It seemed like this might work, until the main wire of the hook started slipping back and forth within the wire wrapping.

S clasp with button.

Well, shoot.  And by now my work area looked like a bomb went off:

Jewelry making mess.

I asked for some advice from someone who knows more about wire work than I do (I don't even pretend to be an expert on that subject) and after a lot of back and forth, came up with this:

Plan B.

It was late and this was a prototype - please don't judge me.  I figured I could refine the design later and make it neater.  It did at least put the button in the center of the closure.

Centered, but with extra spaces.

But when I was testing it out, this happened:

Another problem.

The whole closure wanted to sit sideways in the piece!  By this time I was using language my grandmother would not approve of.  Oh, who are we kidding here - I was using language that would make sailors blush.  How could it possibly be this complicated to use a button as a closure without just using a loop around it?  So I put the whole thing aside (threw it aside might be more accurate) and left it sit.  For a long time - like a couple of weeks.  And when I came back to it today, this happened:

Button and loop closure.

Yes, after all that, I went back to the button and loop.  And guess what?  The button sits off center again!

Micro macrame cuff with dragon button closure.

So what's the moral of this story?  I'm not sure I know.  Maybe I'm just supposed to learn patience.  Meanwhile, I've decided to leave the loop closure.  And market the bracelet like this:

Micro macrame cuff by Sherri Stokey.

So, tell me - do all your ideas work out like you planned?  Or do you have a not-so-perfect ending you're willing to share and make me feel better?


Friday, August 7, 2015

A Micro Macrame Primer and Upcoming KnotAlong!

by Sherri Stokey

Do you ever see a beautiful piece of handmade jewelry and get depressed?  Not because there's anything depressing about the piece, but because you think you'll never be "good" enough to make something that lovely?  Well, stop that!  This is a no-whining zone and self pity is counterproductive.  

Don't get me wrong, I've been there.  It's an easy trap to fall into, but basically you have two choices:  you can either admire the piece for its artistry and purchase it from the person who has probably spent countless hours creating it (and possibly several years learning before that) or you can take a stab at it yourself.  
 
I'm curious and I'm from a background where I want to try doing everything.  I wallpapered most every room in my house back in the 80s, learned how to give home permanents, make candles and can tomatoes just "because".  As you can probably guess, not all were wise decisions.  

 
(She's still mad at me about that one, by the way.)  Luckily, I'm now at an age where I know my limitations and instead of taking that as a personal failing, I'm getting better at appreciating the talent of others.  Even if I could make a polymer clay lotus pendant like the one from Staci Louise that I used in this necklace, I would probably never get the feeling she has in her piece. And that's okay - it means Staci is doing something right!


If you decide you do want to try something for yourself, find a good tutorial or class and then go into it with the right mindset.  Learn for the joy of learning and you will leave with a greater appreciation of the artist's process, even if you never use the technique again.  And if you do discover something new that you love, that's even better!

So, for those of you who've made it this far in the post (and hopefully the others are over shopping in my Etsy store), I'm going to give you a micro macrame primer.   I'm going to cover the tools and materials you will need to get started with micro macrame, then I'm going to give you a couple weeks to round up your "stuff".  While you're doing that, I'll be busy writing up/recording a special beginner project for us:  the world's very first KnotAlong!   I'm going to meet you back here  in two weeks (on August 21st) for your first "class".

Are you ready, kids?  I can't hear you! :)


If you want to play along with my KnotAlong (and why wouldn't you?), you have two weeks to gather up these things.  I've added some suggestions for sources* to get you started.

  • Pinning surface:  You can use cork or anything that will hold a pin.  If you want to purchase a foam board, here are some sources:   Amazon, Art Beads, Etsy, Walmart, Fusion Beads
  • Fray Check:  Fire MountainAmazonWalmart, my local Walmart carries this in the sewing aisle as do most fabric stores.
  • GS Hypo Cement:  Fire Mountain, Amazon, Walmart, Art Beads
  • Tex 400 nylon bead cord (I recommend C-lon or Superlon brand):  Bello Modo, South Pass Beads (they have Hypo Cement, too), Shipwreck Beads, Jewels in Fiber.  You will only need about 6 yards for our project, so you will have lots left on your spool for your next project.  Don't get hung up on the cord, either.  If you have some 1mm hemp on hand, it will work.  I don't recommend Rattail or other "slippery" cord.
  • Pins - straight sewing pins and/or T-pins:  can be found in fabric stores, the sewing aisle at Walmart, Michaels, Hobby Lobby
  • Scissors
  • Something to straighten cord (hair straightener, curling iron, regular iron, etc.)
  • Approximately 60 8/0 seed beads. Inexpensive craft store beads will work fine for this project.

You won't find a better time to jump into micro macrame than this.  Here's a peek at what we're going to make:


I might even sweeten the pot a little.  I'm thinking maybe a giveaway for those who participate...  So?  Who's with me?


*Sources listed are US suppliers.  Some others to try:  UK - Knotting Ways
Australia - Benjamin's CraftsOver the Rainbow, France - Perles & Co.  


Monday, July 20, 2015

Color Play

by Sherri Stokey


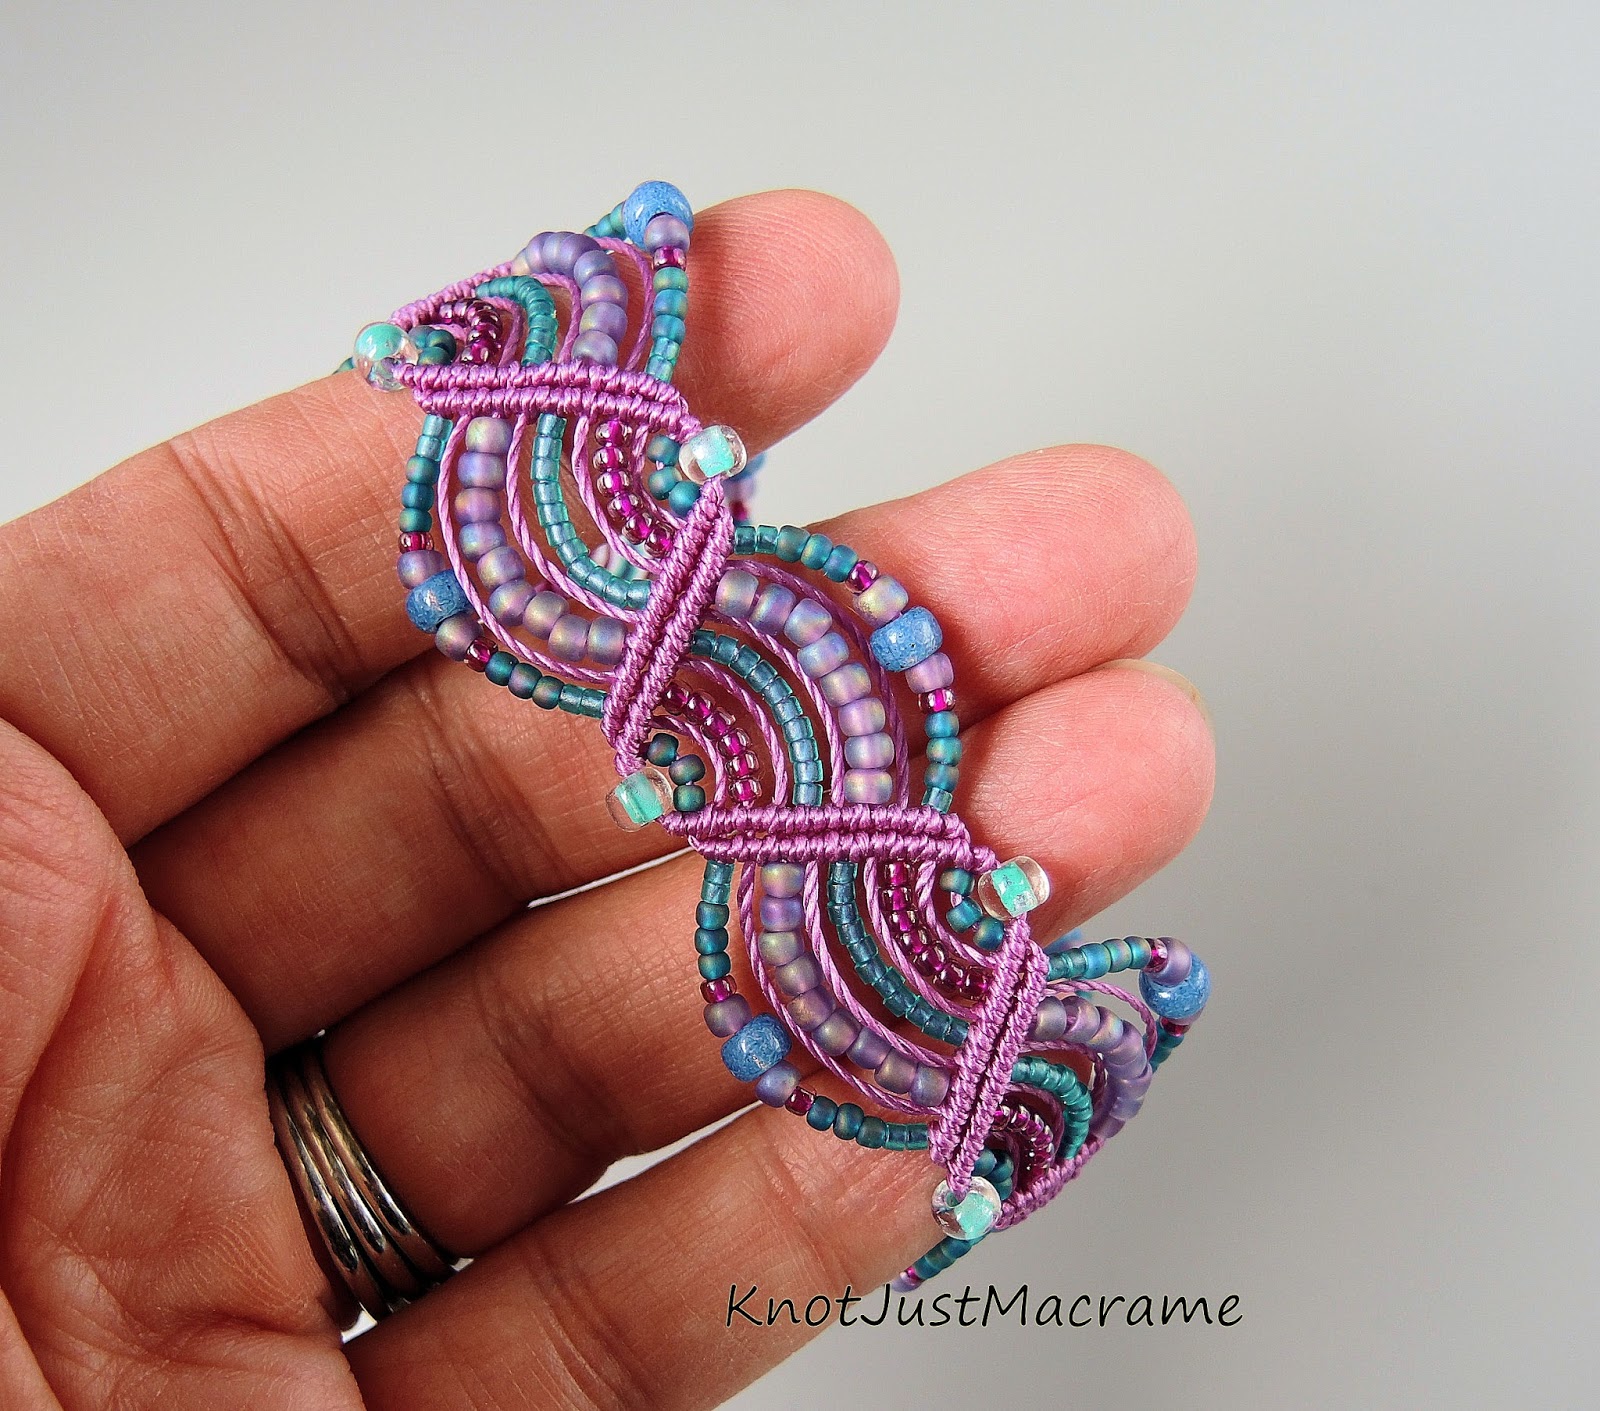
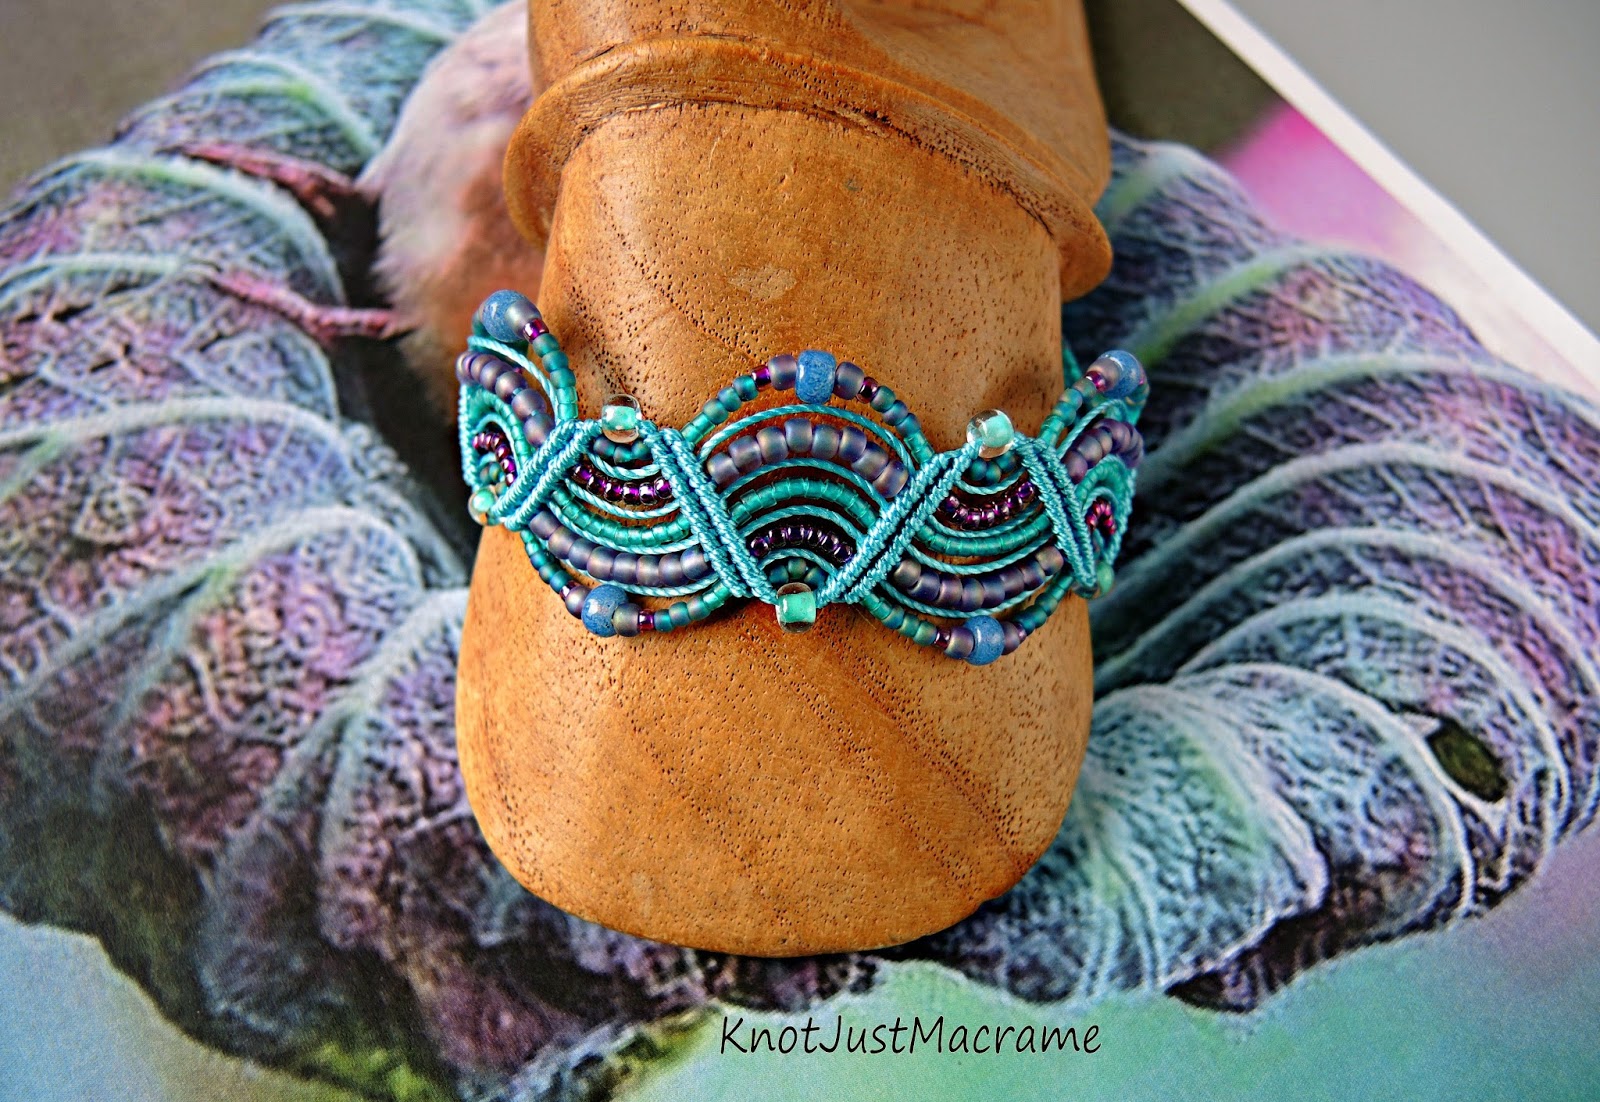
Have you noticed how many gorgeous pictures go scrolling by daily in your social media feeds?  Those photographs can be great color inspiration for design.  I loved the jewel tones in this one and pulled out beads and cord in aqua, lavender, orchid and slate blue, then started a design using the aqua cord and a mixture of beads.  (If you're trying this and are having difficulty pulling colors from the photos, there are some great sites online to help you with that like Kuhler and Color Palette FX.) 


Then I switched out the cord for orchid, but used all of the same beads.  It looks very different, don't you think?  


 Not only is the overall look different, but the individual beads even appear to be different colors.  That, of course, led to trying one more version with slate blue cord.


All of these pieces were inspired by that one photo and there are still many variations to be explored.  I could introduce a bit of the green into the mix or concentrate more on the pink tones.  I also see a ribbed texture and some webbing that would be fun textures to try to mimic.


Where have you been finding your inspiration lately?


Thursday, June 4, 2015

Variations on a Theme

By Sherri Stokey
Micro macrame bracelets with Mexican red snowflake jasper.

Some of my best ideas just sort of morph into being.  I know that sounds odd, but let me give you an example.  A customer asked me to feature some Mexican Red Snowflake Jasper beads in a micro macrame bracelet.  If you know me at all, you know that red is my Kryptonite.  It's just so hard for me to work into a design that feels right *insert whining here*.  But the customer is always right and the show must go on and all that stuff, so I found an image I felt might inspire me and pulled some beads and cord to match.

Red paisley color palette with seed beads and nylon bead cord.

*Shudder*  Just look at all those warm colors!  I made a bracelet using these from this pile, and it was fine.

Macrame bracelet by Sherri Stokey.

Fine, but it wasn't speaking to me.  I tried, people.  I tried to get the red to speak to me, but it was definitely giving me the silent treatment.  So I went back to the drawing board and pulled out some beads that were talking to me to act as interpreters.

Turquoise beads and cord.

It's turquoise to the rescue (okay, okay - sort of sagey green if you want to get technical about it).  I threw it into the mix and made another bracelet, and this time it sang to me!

Red jasper macrame bracelet with turquoise.

I probably never would have had the idea to create this piece from scratch.  The idea came gradually, step by step.  Evolved.

Micro macrame bracelets by Sherri Stokey.

This is a technique I use often.  I think it's because I'm curious.  I make a bracelet like this:

Micro macrame bracelet in deep blue and marigold.

Then I wonder what it would look like if I switched out the marigold for another color and before I know it, I have a coral, a chartreuse and a lilac version:

Micro macrame bracelet in deep blue and different accent colors.

I also like to use the very same pattern and the same beads, but switch up the cord colors:

Micro macrame bracelets with different cord colors.

Remember this next time you think something isn't turning out quite the way you want.  Maybe you just need to let the idea steep a bit.  Maybe if you let the ideas develop, you'll get right where you want to be!

Tuesday, May 26, 2015

Feeling Uninspired?

by Sherri Stokey


Have you ever had one of those days (or weeks, even) when it feels like your creativity has left the building?  You've ground to a halt; come to an agonizing standstill.  Your muse is on vacation.  The idea fountain has run dry... I think we've all been there, but I'm here to help today with some ideas on how to find that spark again.  I find inspiration everywhere!  The wall decoration above is a good example.  I found it at a yard sale for $1 and besides the fact that I love it in all its kitchy glory, it gave me a little seed of an idea that turned into this micro macrame piece:

Micro macrame bracelet based on colors from 1970's kitchen decoration.

Fun, don't you think?  Flea markets and garage sales can be a treasure trove of pieces that may just transport you to another decade and change the way you look at things for a little while.  Anybody remember these Tupperware containers in avocado green and burnt orange (my mom is still using hers):

Beaded bracelet based on colors from old Tupperware!

Try to change your mindset and look around you.  Common, everyday objects can provide you with ideas on colors and textures.  Even sand:

Sand dunes in macrame (bracelet).

And water:

Freeform macrame inspired by water.

And street signs (this is from my hometown, Valentine, Nebraska, and yes, they really do stencil hearts on the sidewalks on Main Street):

Valentine inspired bracelet with hearts.

If you have a talented person in your family (or friends), maybe you can piggyback on their creativity to jump start your own.  My mom makes beautiful quilts, but maybe you know a painter or a weaver or a clothing designer?  These are a couple examples where I drew inspiration from Mom's work:

Patriotic quilted piece and macrame bracelets in red, white and blue.

Quilt in purple and green colors inspired a macrame bracelet.

Are you getting excited yet?  Seeing some possibilities?  If none of those ideas appeal to you, you can always turn to color palettes pulled from photos.  

Blue and gold color palette and beaded micro macrame.
Color palette based on NASA photo and resulting macrame piece.

Try thinking of the photos a little differently, too.  Instead of just pulling a color palette, consider the shapes, textures and movement in the photo.  Is it something you can use?  Like these undulating lines:

Micro macrame bracelet based on USGS photo and color palette.

Or this texture:

Bead weaving spiral necklace inspired by lizard photo.

Or just pick up a feeling from the photograph and go from there.  In this next piece, I tried to capture the feel of the waves lapping up onto the sand; the foam; the colder, deeper water further out:

Micro macrame bracelet by Sherri Stokey of Knot Just Macrame.

One more place you can turn in a crisis and then I'll leave you to ponder.  One of my all time favorite color palettes is pulled from the raku finishes on some of the art beads I've collected (these are from Star Spirit Studio).

Beads, cord and art beads (pendants) in raku colors.

I think I could use these colors for years without getting bored (raku focal pieces below are from Star Spirit Studio, Spinning Star Studio and Elements Pottery and macrame work is by yours truly)!

Micro macrame bracelets and necklaces featuring art beads.

If you get to that point where you're uninspired, try taking a look around you again with fresh eyes.  Hopefully some of these ideas will help you.

 
face
Related Posts Plugin for WordPress, Blogger...