Showing posts with label display. Show all posts

Wednesday, July 6, 2016

Ring display-TUTORIAL...and latest porcelain creations

Carol Dekle-Foss
Hello everyone!  Recently, I ran into the problem of not having a way to display new rings for an upcoming festival. I wanted to display them in a simple, unique way that would make each ring stand out. It seems like booth design is an ever evolving challenging process! For me, rings are the most difficult to display.

Here's what I came up with for the festival.


 I just cut a slot into little wooden rounds! They display nicely this way, and I also like being able to move them about. The only problem is the rings keep falling over! So annoying. 

 I decided to give it another try and do a tutorial with what I came up with. 


I have a plethora of little rounds that my husband cut out and these leather swatches. I wanted to use what I had on hand so this is what I made.
I just glued two rounds and a piece of leather together. I cut the edge of the leather as well to make it look a bit worn and frayed. It's deeper now so the ring sits in there much better. I'm still deciding if I like it though. See, always a work in progress! If the customer wants, I can always include the display with the ring as an added bonus!

Here are the easy steps:

After I glued all the pieces together and let dry, I marked the thickness of the band with a sharp edge.


I then used a diamond cutoff wheel and flex shaft to cut the edges. A tiny saw blade might be better for this step, but they freak me out! Yep, I'm scared to death of saws, even tiny ones!


I improvised here and used a little screwdriver as a chisel. I hammered the top of the screwdriver lightly to cut out the ring slots. It's so simple and fun to make! 

I think I like the idea of cutting out larger rounds that can hold 5 or 6 rings, and then have 3 or 4 scattered around the booth. That way I can organize them by style. We'll see!

Also, last week my husband and I were able to play with clay. 
I never get over how different they look when they come out of the kiln!

Here are some of our favorites.

These mandala pendants are so yummy!!

Sacred spiral pendants. Oh my, I love the swirling glaze pooling in the crevices.

Such a sweet detail. Leaf swirl pendants.

Dreamy cherry blossom pendants! I have a few listed in the shop.

And lastly, these adorable teensy weensy beads. They are so cute!

So how do you overcome the challenge of displaying your jewelry? I would love to hear from you!

Friday, June 12, 2015

BIG Displays.... small Spaces

by MaryAnn Carroll

So, the idea for this post came from my most recent request for my very talented husband Bill to make me a necklace display. We do shows together, but the space I have compared to his is very small. It works out since I teach full time, have work in galleries and am usually unable to make a ton of jewelry. The problem with a small space, however, is that .... well.... it's small.

As you can see in the first picture (not the best quality), that I have a small space in comparison to all of the pottery. My spot is next to Bill in the back. 


Here a a view that is a little better. As you see I have a small table and use the ends on the long tables. After many experimental displays (not that he's thrilled that my ideas are always evolving), I decided that the best use of space is to build up not out. 


Here is a necklace/bracelets display from the past. My original idea with the one on the left was to dangle necklaces and then put bracelets on the bottom. This design is much too big and also much too wide. It does not make the most of the space that I have. It is also too busy. On the right is my most recent. It is simple, tall, and a pretty good width. I get lots more out of it.


Then I have a had a few different earring displays. This one was designed to offer a rustic look. I guess the idea was okay, but the size was way too big. The paint for the colors came from colors that were in an issue of Belle Armoire magazine.


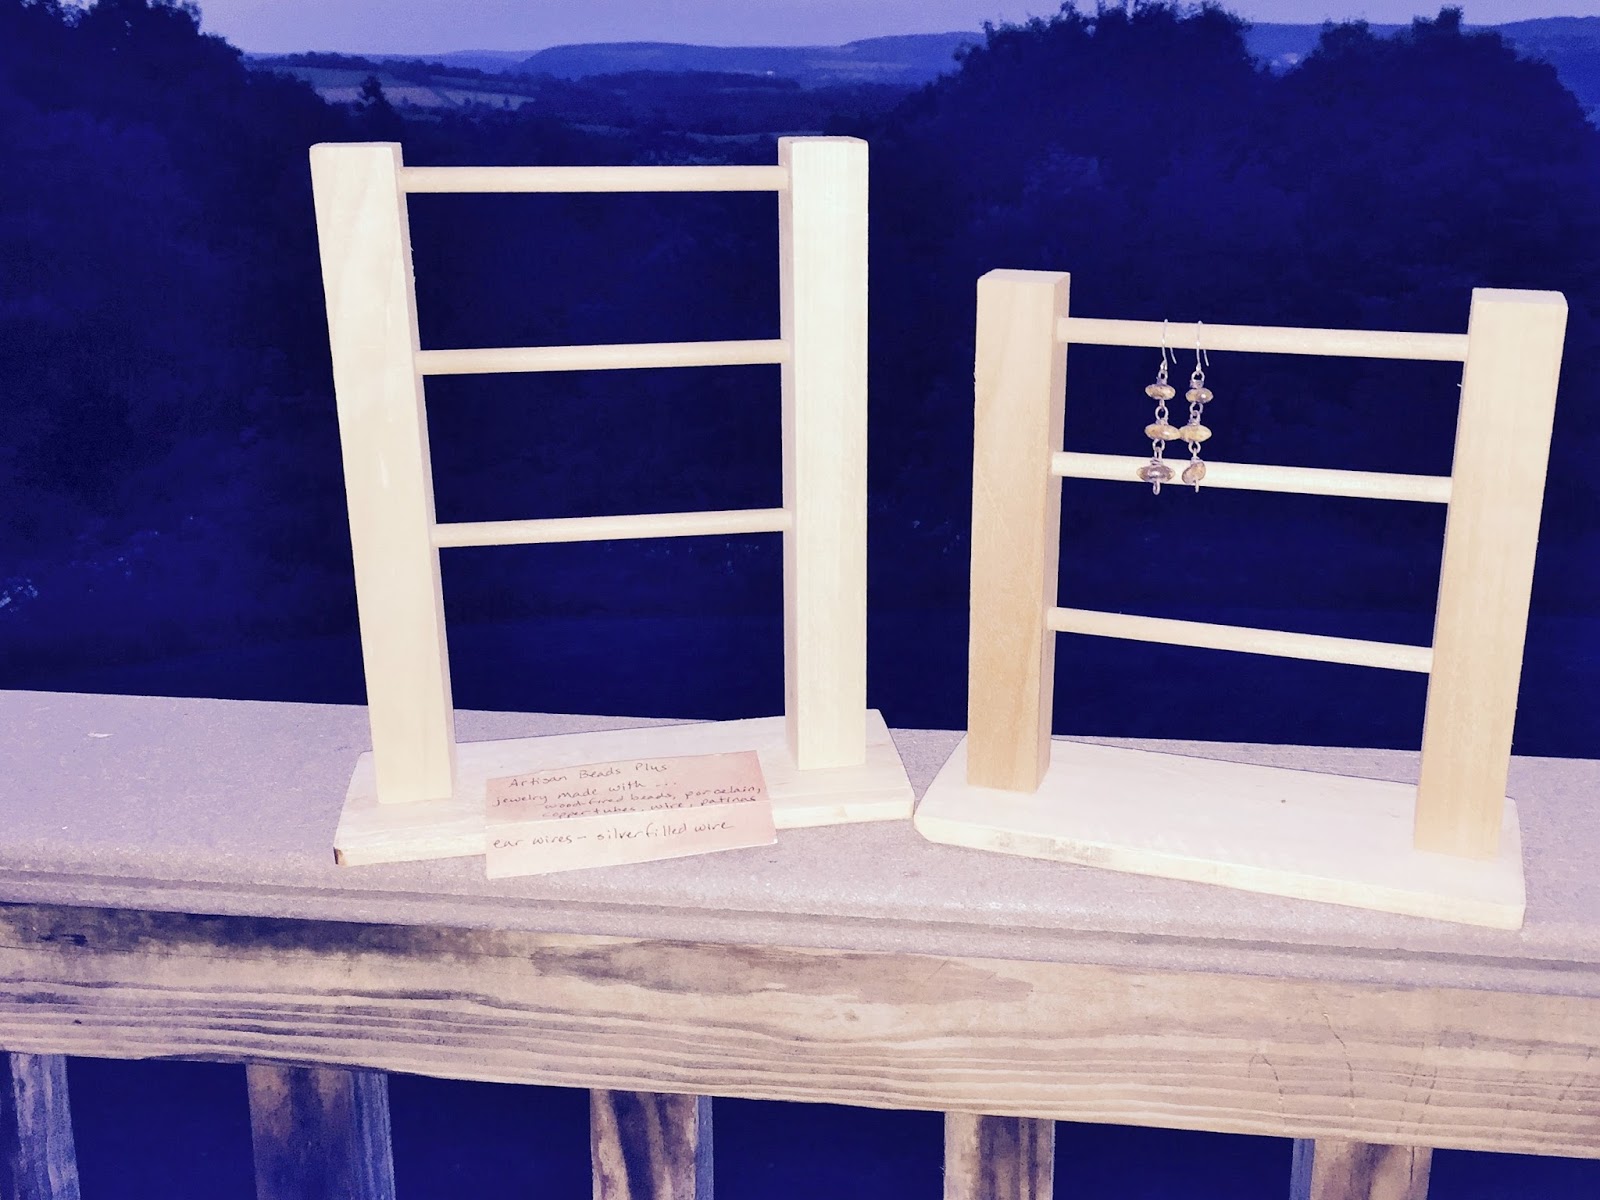
These next two are what I have used recently. The one on the right is okay, but I really don't like the space down the middle and it needs a different color paint. I'll keep it, but need to fix it up. The one on the left is what I typically use today. The earrings pop out more (which was the idea) and they slide off to the sides for easy storage when tearing down. I just slip this into a pillow case and wrap some rubber bands around it. It could probably use a better back drop, but I am not going to worry about that anytime too soon.


Here is a close up of how the earrings display and bracelets look together.


These little guys are for end spots. The sit up on the 2nd shelf so they are at eye level. I put a pair of earrings on there for scale.


Next is the issue with necklaces. Ughh..... I don't have any easy answers for that. I read that having pieces dangle always attracts people. There is truth to that. I do have a spot for my pieces to dangle from a piece of wood that juts out from one of the pottery shelves. I didn't, however, have a nice little display for how they might look when worn. Once again, after researching a little (I've gotten smarter about doing my homework first), I found some ideas that I liked. Bill assured me that he would take care of it.

My request to him: Will you please make me a couple of tall necklace displays? I would like them made with wood with the least amount of grain that you can find so the jewelry pops out! I don't want anything that is too busy. He's retired so he told me he would make it while I was at work. I got home and this lovely display was sitting on the counter. I was a little taken aback!!


I did ask for a smooth piece of wood with little to no grain, didn't I? Now, this is a lovely piece of wood loaded with LOTS of character AND a big hole, but it wasn't quite what I envisioned. 

How do I approach this when he walks in the house?

"Thanks for making that for me, Bill. It's really nice. It has lots of character. Did you remember that I wanted one with little to no grain? 

Of course, he was put out and told me that he is constantly making and remaking displays for me! That was a dilemma because he DOES always make and remake when I come up with different design ideas. I really didn't want to say that it was not going to work.

so......................................................................................................................................................................................................................................................................................................................................................................................................................................................................................................................................................................................................


he headed down to the other room and...

SURPRISE!

He really did know what I wanted! I love him and them!!!

Now, THAT is more like it!!


My displays have evolved like my jewelry making has evolved.  It will probably continue to and maybe three years from now when I retire from teaching I will need a bigger space!

In terms of displays, this my favorite. People are drawn to it as it is tall and almost to eye level. This is built from the largest dowel I could find at Lowes.


And I still like this. It is going on the second summer of shows. I can bend the tubing to fit the earring length.


 And here is one necklace display.I have one for each table end. This show was in the backyard of a home at Westcott Art Trail in Syracuse. 


The other along with my piece of wood to dangle necklaces off of. I probably should have hidden my jacket and plastic work box for the picture!


So, that is a sampling of what I have used. It is not a complete list since I have used pieces of logs for bracelets and some other experimental ideas that didn't work out.

How do you handle your display area? What works best and what have you tossed to the curb?


Wednesday, October 1, 2014

Cedar Wall for Craft Fair Booth-TUTORIAL!

Do you sell at craft fairs or festivals or do you plan to someday? Here's a great tip for you to attract customers. Create height! Creating height adds interest and entices customers into your booth, allows for more room for customers to move around, and also, all your wonderful creations will be at eye level and easier to see. 

I am going to share how my husband and I created height by building a portable wall.

DISCLAIMER: If you do build this wall, just make sure your breakables are secure. As you can imagine, craft fair tents aren't very sturdy, so sometimes when the wind blows...the whole booth rocks. Just to be on the safe side, I wouldn't put large ceramics items or glass mosaics on display.  Also, to counter weight the other side fill jugs with water and rope tie them down. We use about six kitty litter containers. (We wouldn't want to crush a customer or take out a booth neighbor right??)

We have little carpentry experience and pretty much winged this project, but we are very happy with how it turned out. If you are planning on building this wall and know someone in construction, I would consult with them and see if they have any suggestions for you!

Tutorial
Product list
9 12"x88" cedar planks.The planks we used are recycled and from a deconstructed building. Try your local wood supplier. Because cedar is so light it makes it very portable. (this is the most expensive part of the wall)
Construction screws The thickness of your walls will determine what length your screws should be.
I found a tutorial on how to make wood look rustic from Brittany Bailey over at Pretty handy Girl. Thank you Brittany!
Paint brushes 

Tools
Tie down straps
Clamps
Drill
Drill bits
Caulking gun for Liquid nails
Two saw horses

Step One

We constructed a total of 3 panels. They are very light, even for little ol' me to carry and move around.

First, place three planks on the saw horses. Using the tie downs, tighten the planks close together, so there are no gaps.


Using liquid nails, and screws, screw 3 of the strong ties to the back of the planks.
Do the same with the aluminum angle bars, but first you have to drill holes with the drill bits for the screws to go in.
See below pic for placement. Do these steps for the other two panels as well.


The cut in the top is because my tent has a bar that comes down. We had to cut a groove for it to go between. Depending on your tent, you may not have to do this step.


Step Two

Cut PVC pipe into 3 equal pieces. Lay all three panels on a flat surface. Then place PCV pipe pieces on the back of the panels. Line up all three and then screw in place with pipe straps. The goal is to get them lined up so that the long copper pipe runs through all three panels and holds them in place. When we set up the wall at events, we use plastic zip ties to hold the copper pipe to the tent bars. 


Step Three


Ok, time to throw on some painting clothes and mix up some paint! Brittany's tutorial is here and provides the amount to mix up. I painted a bit more around the edges of each plank to give it that rustic aged look. You can see the effect in the above pics.

A couple more of tips. We used the lattice caps on the top and bottom to frame the whole wall and give it a finished look. We place them on when we are setting up. Also, sometimes the wall doesn't line up properly when at events due to the ground being uneven. We fix this by using a tie down on the bottom, back side of the wall. Since the tie down is in the back, you don't even see it.

There you have it!

Once you are finished making your wall, I would draw a diagram on what you would like to hang. Shelving? Picture frames? Now is the time to make your wall tailored to suit your needs according the your style and the products that you sell! Have fun, and if you have questions please feel free to contact me!

Wednesday, August 20, 2014

My latest booth project & theft prevention tips

 Carol Dekle-Foss

With the luxurious days of summer coming to an end and the cool breezes of fall fast approaching, everyone seems to be in a hurried rush. Last minute road trips are being taken, school clothes and supplies are being bought, and for some, preparation is being done for upcoming fairs and festivals. Here on LMAJ, our very own Marsha Neal and Staci Louise Smith have been prepping for Bead Fest Philadelphia. It starts today and ends on August 24th, 2014. This is a huge event with over 200 workshops and more than 350 vendors.

Staci will be teaching tomorrow on how to make these Painted Polymer Fossil Talismans. We are so proud of you Staci! Good luck to you both!


I also have been prepping. The largest event for me right now is the American River Music Festival. I'm busy checking inventory, making new jewelry, and getting my booth ready.

This year, I have created pieces that are more expensive using gems and sterling silver. This has presented a challenge. I want to be able to have these items on display but I worry about theft. Some of them took me over two days to make. I poured my heart and soul into these creations. If one of them were to get stolen, well I would be crushed. Last year at the American River Music Festival, my booth neighbor left all his items in his tent overnight. They have security but the event is right next to a busy road. Someone got into his booth and stole an untold amount of jewelry, rock gems and fossils he collected from all over the world. It was awful, and he was in tears all the next day. There are those that target craft fairs for an easy buck, but if we are diligent, we can do things to protect our wares. The reality is though, there is nothing you can do to stop all theft.

Having a locked display case is the number one effective way to stop thieves, so here is my latest project to prevent some of my pieces from falling into the wrong hands.
The wine barrel, locking Plexiglas box and base were individual items that my husband brought home from work. His company throws away used advertising displays. The box was silver, the wine barrel unfinished, and the base was blue. All had company logos that I had to sand off.  I then painted, distressed and finished everything and put it together as a locking jewelry display case.
I think it's important to have jewelry out on display for everyone to touch and try on, but having at least one case is a good idea for those expensive creations.

Here's a little tutorial on how I made the logo. 
First, I created the image on Photoshop, then transferred it to the Silhouette cutter which did all the work cutting out the card stock. You could also cut your logo out with an exact o knife. 
I then taped the logo to the barrel and just eyeballed the placement.

I traced the edges of the logo with a permanent sharpie.
I then used this wood burning tool to burn in the logo. Wood burning is definitely NOT my cup of tea. I burned myself once. Only the whole tip of my finger, to which the skin is now peeling off. Just painting the logo is a painless alternative!
Here is the finished detail. 

Another way to protect your profits is to hide and secure down your cash box. This table is always in the back of my booth. It's tall enough for me to stand at when working and it has a hidden area. I keep a  director's chair in front of it as well so it's not easily accessible. 

This crazy contraption is under the cloth. I couldn't find a tall table with a storage area, so I made one! The cash box is screwed down and secure. The only way it's coming off is with a crow bar. I do wear an apron for small bills but when the traffic dies down, I add the larger ones to the box. 


Here are a few more tips for preventing theft.
  • Greet every customer that comes in your booth, this will make customers feel welcome and also deter thieves. 
  • Have a helper. This will allow you to take much needed breaks and also your helper will be able to greet and keep an eye on things.
  • Booth setup. Creating height is great for display. The only problem is if you are behind your high display, it will be hard to see people's hands and what they are touching. When designing your booth setup, just make sure there are no blind spots, and that you can see all that is going on.
  • Secure your items. Clips and pins are a great way to deter thieves because they have to undo them first, and run the risk of being caught.
I would like to hear about any special tricks you use to protect your jewelry or beads at fairs & festivals. Please feel free to share!

So what have you been doing to take advantage of the last days of summer? Do you have any rituals that you do to celebrate the changing of the seasons? I like to visit the coast before it gets too cold, it's very therapeutic and rejuvenating, plus its a great way to get out of the heat!
face
Related Posts Plugin for WordPress, Blogger...