Showing posts with label #bootcamp #ajbootcamp #finefinishings #lmaj. Show all posts

Friday, December 4, 2015

8 Tips to Improve Your Jewelry Making Skills

by Sherri Stokey

Perhaps I should clarify:  even though I've titled this piece 8 Tips to Improve Your Jewelry Making Skills, please don't stop reading if you don't make jewelry.  Most of these tips (if not all) can apply to other crafts as well.  Either way, I've put a lot of thought into this article and since you're already here anyway, you might as well finish reading it.  Plus it's good manners.  If you get to the end and feel I've wasted your time or you don't agree with me on one point or another, you can always leave a comment and give me a piece of your mind.  With that out of the way, let's get to the list.  


1.  Practice!  Although we all like to think we are the 1% who can pick up something and do it perfectly the first time, it just doesn't work that way.  If you ask your most admired artists, they will tell you that they've come a long way and devoted a lot of hours to perfecting their craft.  Which leads us to #2...


2.  Strive for perfection.   This one might not apply to every art equally, but in some mediums, like micro macrame, neatness counts.  It's all about keeping the knots even with the same tension, crisp corners and straight lines.  In other mediums it might be a matter of getting a smooth solder or a perfectly coiled wire.  Mediocre isn't good enough - strive to do the best work you can.  You won't get this one without #1 (practice).  Fact.


3.  Play!  #1 and #2 make it sound like making jewelry is drudgery and it couldn't be further from the truth.  Allow yourself time to play around in whatever way is fun for you.  Sometimes I like to goof around with random knotting just to see what develops and sometimes I like to try the strangest color combination I can dream up.  Just for fun.


4.  Take a class.  I had never been able to take a class until last year, and I thought I'd done okay for myself with the self-teaching bit.  And I had.  But when I had a chance to take a class I was really excited by the whole experience.  There's just no substitute for learning from someone who really knows what he or she is doing.  I picked up some great tips and got a fresh infusion of enthusiasm for possibilities I hadn't considered.  


Even if you live in the middle of nowhere like me, with no access to local bead shops or experts, there are online classes available. Although a live class is nice so you can interact with the instructor and other students, online classes have some strong points of their own: you can pause them, replay portions and tailor the experience to your own schedule without disrupting other students.  Whether live or recorded, classes offer you an opportunity to grow and develop your skills.


5.  Network.  Find a local group of like-minded enthusiasts or join an online community.  It's fun!  I belong to several groups on Facebook and I really enjoy them.  I love to see the different styles of  artists from all over the world. Plus, having a group of friends who have the same interests can be helpful if you get stuck.  Usually there's someone  who has faced the same issue you're experiencing , or at least someone who can offer some creative solutions.  It's also a great way to find inspiration, which leads to #6...
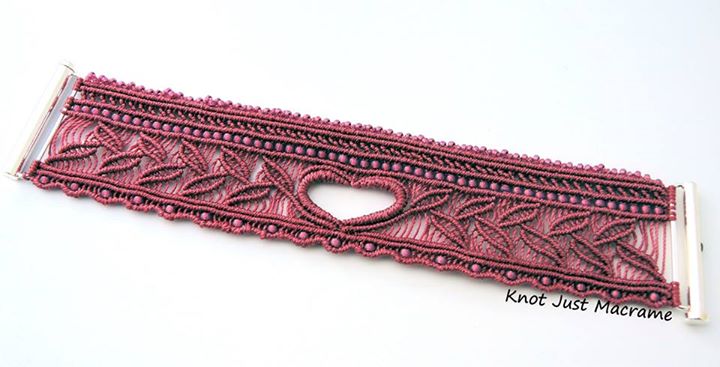

6.  Look for inspiration.  Whether you find inspiration by taking a stroll through the park or a hike in the mountains or a trip to the zoo, or something more sedentary like scouring the Internet, inspiration is there and free for the taking.  Clear your mind and take a fresh look at everyday objects.  Think in terms of texture or color or lines, then try to replicate even one part of that in the medium of your choice.


7.  Experiment.  Don't be afraid to fail.  Try something different - if you usually work with polymer clay, try your hand at micro macrame.  If you are a knotter, pick up a bead weaving tutorial and give it a go.  Try torch fired enameling (make sure the blinds are out of the way first and don't ask me how I know that).  The point is to step outside your comfort zone, color outside the lines.  Sometimes when you do that, it blurs where you thought your boundaries were and opens the door to some amazing things!


8.  Find your style.   It has taken me a long time to put my finger on what makes one piece fantastic and another mediocre, even when the two are very similar and I've finally boiled it down to one thing:  authenticity.  The whole point of art is to express yourself.  It's great to learn from a class or follow someone's pattern, but in the end, you need to find a way to make it yours if you want to take your art to the next level.  Find your voice and then sing like nobody's listening (cliche, cliche, cliche - but accurate).  Do you like no one else can!


Monday, May 19, 2014

Love My Art Jewelry Fine Finishings Boot Camp BLOG HOP!!!

It's time for our Blog Hop for our Fine Finishings bootcamp!

We want to see YOUR examples of your very best fine finishings!

Have you been working on making your own ear wires?

Maybe you just started covering your crimps?

Have you been trying to make sure you get those wire ends tucked properly so they don't snag or just wondering what wire is best for each bead or type of finding?

What about your packaging? Maybe you've been working on new ideas so your packaging shines as  brightly as those beautiful handmade pieces inside?

Getting started in a new medium or perfecting the pieces you already make? Even refining your process by making sturdier charm loops, sealing your metal,  and cleaning the holes on your handmade beads can take your pieces to a new level of finishing.


WE want to SEE what you've been working on! Please post a link to your blog post below! You have plenty of time to link up below! Link ups close on Saturday Night at 10:00 EST! 

Saturday, April 12, 2014

star stuff

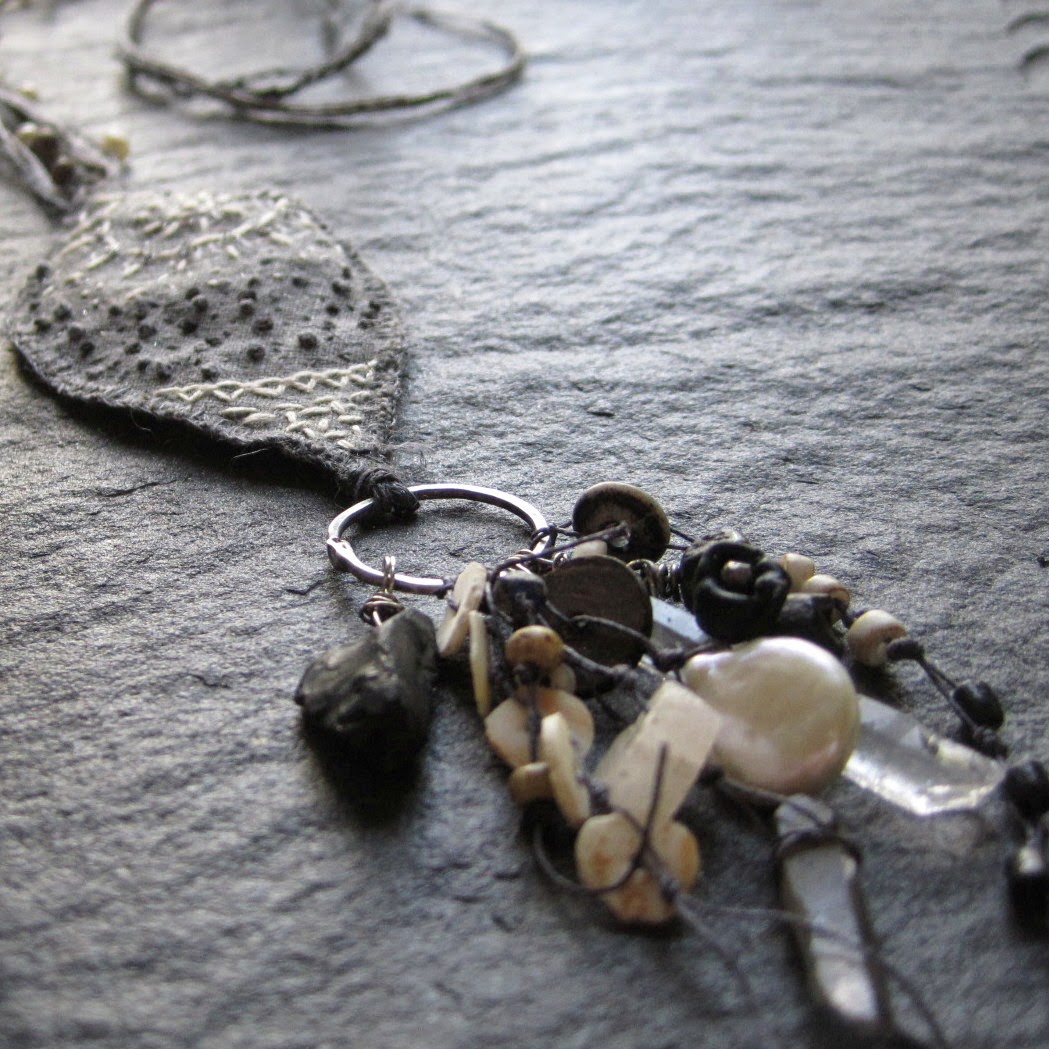
mjd 2014 - fragile strength talisman/wonder

in the 1970s, dr. carl sagan told us we are made of star stuff. 
now, building upon the legacy of 'cosmos', dr. neil degrasse tyson explains how we are stardust and connected to all molecules and all atoms in the universe.
this includes the ones of which you are made.

the universe exists in the opening flower.
the universe exists in the clam that gives us pearls.
the universe exists in you.

the wonder of it all should take your breath away,
give your life a feeling of humbling magnitude - 
you are gifted with being alive 
right here, right now.

and none of us knows for how long - 
we are all created equally in that respect.


be mindful of wishing for the day to be over,
thinking the weekend will bring you more joy.
joy is an attitude.

be aware of the love that is ever present
that is available to all of us.
the birds sing for us,
the sun shines and the rain falls -
breathe it in,
smile,
accept,
be grateful,
then give something back -
your choice of how.
but the possibilities are endless.

--------------------------

i wanted to thank staci and all the ladies for sharing their trials and learning experiences with their media of choice. truly it is of invaluable help to us by saving time, materials and frustration. it is with great pride that i am a part of a group of such talented, brave and sharing women.

i have a tip for finished findings that has served me well and i think is extremely important for wire and metal - no rough edges, no pointy ends. make sure all wire ends are tucked in tightly. if you have a tumbler, great - use it to do the work for you. if you don't, in addition to metal files, i have found rougher emery boards and foam blocks from the beauty supply to be very helpful. and sometimes even more effective as they are flexible. things can be beautiful in photographs and on your work table, but if it must be wearable. 


Monday, April 7, 2014

Art Jewelry Boot Camp: Fine Finishings Week 1

Welcome to Week One of our new Art Jewelry Bootcamp: Fine Finishings!!! If you missed Staci's post last week about this new bootcamp, I encourage you to go read it, because all of our members at LMAJ have a unique and diverse perspective to draw from.

 I'll be back with you tomorrow to share some wordy and philosophical perspectives about fine finishings but today I want to talk about:

 WIRE GAUGES.

 Too Thin?

 Too Thick?

 Just Right?

 Let's talk about basic wire gauges.... There are at least 3 realms of standard gauges at the minimum you need to have in your basic toolbox for basic wirewrapping and art jewelry making. As an artist develops his or her skills and particular style, they usually add more gauges to round things out.

This is a VERY old piece of mine that used very thin (TOO THIN in my opinion now!) wire to wrap the bails of the pendant. I'm guessing it was 24g since there are also wrapped pearls in this piece. You can tell I compensated by wrapping it twice and 3 times through the holes, but I'm glad my work has evolved since then!!!!


20-21g. 
20-21 gauge wire is the widely accepted standard for earring wires. Larger gauges, such as 18 or 16 will stretch, irritate, or even tear the majority of customers while smaller gauges such as 22 will be too thin and will not enjoy longevity or will bend easily. This standard gauge also works well for wire wrapping large hole or ethnic beads. 20-21g when formed and properly work hardened either by chasing, hardening with a mallet and tumbling will produce a sturdy and beautiful finished ear wire.
These are handmade earwires I make from 20g brass wire.


22-24g. 
This is the perfect wire wrapping gauge for most bead stringing and basic bead wire wrapping applications. 22g will fit most gemstones and art beads and has a heavy enough presence to balance the work. Certain gemstones, like pearls and tiny finer semiprecious stones may require even a 24g. You may also find you lean towards 24g if you have a tendency to work very small or do very delicate work.

This is an older piece of mine but has a wide variety of wire gauges. The urn shap was formed from 16g brass wire, the Buddha pendant was wrapped with 20g, and the small glass beads were wrapped in 24g.

This is a more recent piece where I used 16g  copper wire to form a sturdy wire wrapped bail for this pendant while I wrapped the beads in 22g wire.


16g-18g. This is the perfect basic starter HEAVIER gauge wire for beginner smaller clasps, links, heavy jumprings, and beginning heavier wirework. It is generally still malleable enough without a torch annealing to wrap large bails, make wire wrapped links and connectors on their own without the use of other beads.

Staci used 18g to wrap these pieces. It is a bit lighter than 16g but allows her the flexibility to securely wrap these large pendants together.

Once you begin adding and refining your wire toolbox, you'll rely on your own judgement and burgeoning expertise to acquire a broader knowledge of different wire gauges and how useful they are in your particular piece or work!

Do you have any favorite wire tips when selecting the best solution for a piece? We'd love to hear your ideas in the comments below!!!
face
Related Posts Plugin for WordPress, Blogger...