Showing posts with label wire wrapping. Show all posts

Thursday, September 3, 2015

Artist Beads and Earrings - Learning the Jewelry Basics

Sometimes in life, things work out in ways that you feel pretty fortunate.
Like having the opportunity to spend a good portion of my 30's making beads and traveling around the U.S. to sell them (before the internet took over).
Marsha Neal Studio and Thornburg Bead Studio Artist Bead Earrings
While traveling, meeting SO many wonderful bead makers, jewelry designers, jewelry hobbyists (which a lot of those people had serious jobs, and dabbling with jewelry making was their relaxation and they did not want it to be another job).

 Growing up I never dreamed of making beads or jewelry, but I always dabbled.
Here is a bad photo of a back shelf where I have all of my beads purchased at big craft stores, as I grew up. There are also some beads in there from when I first discovered the bead shows in my area. I quite remember getting sold "silver" beads, but the silver plating coming off over time, then the vendor - the next time the show came around - denied that they were his beads (he had more of the exact bead strand on the table - what a jerk taking advantage of a new beader!)


We all have to start dabbling somewhere. Sometimes the easy and cheap is the way we go.
And that is great when you are experimenting, or can use the product in ways that are very creative.
But your work goes to the next level (in my opinion) when you start to really understand your materials, and can start to design with them to have a great look, a good wearable feel - if that is your goal, and will hold up over time with intended wear.


I work part time at a wool shop and art house in Elkton, MD called Sarafina Art House.
It has been a blessing for me to have a job outside of the house around inspiring people and creative energy. We all bring a little something extra to the table creatively, and when it comes to classes, I tend to lean to the basic jewelry side of things.

The above photo is a quick shot of some of the materials I am going to bring with me to a series of classes I am going to teach in October "Earrings in an Hour". I am going to go over some of the basics of jewelry making: tools, supplies, techniques, design and inspirations. Each person is going to be able to make up to two pairs of earrings that night to take home, and I am going to be doing this for three weeks straight - with two different designs each week!


I really wanted to help people understand some different things about materials so they can start to find their creative way with jewelry making.

What are some fun tips you would share if you were teaching a beginners wire working class?
I may print some of these off with your name of course and let them read them in their take home.

PS - I have a ton of things in my head already, so asking for "tips" is just to make sure I don't forget anything important - which can happen frequently once you get comfortable with your wire work.

Monday, April 7, 2014

Art Jewelry Boot Camp: Fine Finishings Week 1

Welcome to Week One of our new Art Jewelry Bootcamp: Fine Finishings!!! If you missed Staci's post last week about this new bootcamp, I encourage you to go read it, because all of our members at LMAJ have a unique and diverse perspective to draw from.

 I'll be back with you tomorrow to share some wordy and philosophical perspectives about fine finishings but today I want to talk about:

 WIRE GAUGES.

 Too Thin?

 Too Thick?

 Just Right?

 Let's talk about basic wire gauges.... There are at least 3 realms of standard gauges at the minimum you need to have in your basic toolbox for basic wirewrapping and art jewelry making. As an artist develops his or her skills and particular style, they usually add more gauges to round things out.

This is a VERY old piece of mine that used very thin (TOO THIN in my opinion now!) wire to wrap the bails of the pendant. I'm guessing it was 24g since there are also wrapped pearls in this piece. You can tell I compensated by wrapping it twice and 3 times through the holes, but I'm glad my work has evolved since then!!!!


20-21g. 
20-21 gauge wire is the widely accepted standard for earring wires. Larger gauges, such as 18 or 16 will stretch, irritate, or even tear the majority of customers while smaller gauges such as 22 will be too thin and will not enjoy longevity or will bend easily. This standard gauge also works well for wire wrapping large hole or ethnic beads. 20-21g when formed and properly work hardened either by chasing, hardening with a mallet and tumbling will produce a sturdy and beautiful finished ear wire.
These are handmade earwires I make from 20g brass wire.


22-24g. 
This is the perfect wire wrapping gauge for most bead stringing and basic bead wire wrapping applications. 22g will fit most gemstones and art beads and has a heavy enough presence to balance the work. Certain gemstones, like pearls and tiny finer semiprecious stones may require even a 24g. You may also find you lean towards 24g if you have a tendency to work very small or do very delicate work.

This is an older piece of mine but has a wide variety of wire gauges. The urn shap was formed from 16g brass wire, the Buddha pendant was wrapped with 20g, and the small glass beads were wrapped in 24g.

This is a more recent piece where I used 16g  copper wire to form a sturdy wire wrapped bail for this pendant while I wrapped the beads in 22g wire.


16g-18g. This is the perfect basic starter HEAVIER gauge wire for beginner smaller clasps, links, heavy jumprings, and beginning heavier wirework. It is generally still malleable enough without a torch annealing to wrap large bails, make wire wrapped links and connectors on their own without the use of other beads.

Staci used 18g to wrap these pieces. It is a bit lighter than 16g but allows her the flexibility to securely wrap these large pendants together.

Once you begin adding and refining your wire toolbox, you'll rely on your own judgement and burgeoning expertise to acquire a broader knowledge of different wire gauges and how useful they are in your particular piece or work!

Do you have any favorite wire tips when selecting the best solution for a piece? We'd love to hear your ideas in the comments below!!!

Thursday, May 23, 2013

Free Your Mind for Free form Wire Work

by Staci L. Smith

Since this months Boot Camp is all about wire and what you can do with it, I thought we'd talk a little bit about my history of crazy free form wire work.
 
I do not read instructions.  I do not follow rules.  Typical wire wrapping is Greek to me, and I never tried it because I hate to have to measure anything (yes, I am kinda lazy that way).  For me, the free form wire work comes very natural, so it all worked out.  However, I realize that it is not so for everyone.  Some people are very intimidated to just dive right in and play.  I will not lie, there is a learning curve, lots of unwrapping and re-wrapping or wrapping too much, until you can get that balance of function and design....but you can do it.
 
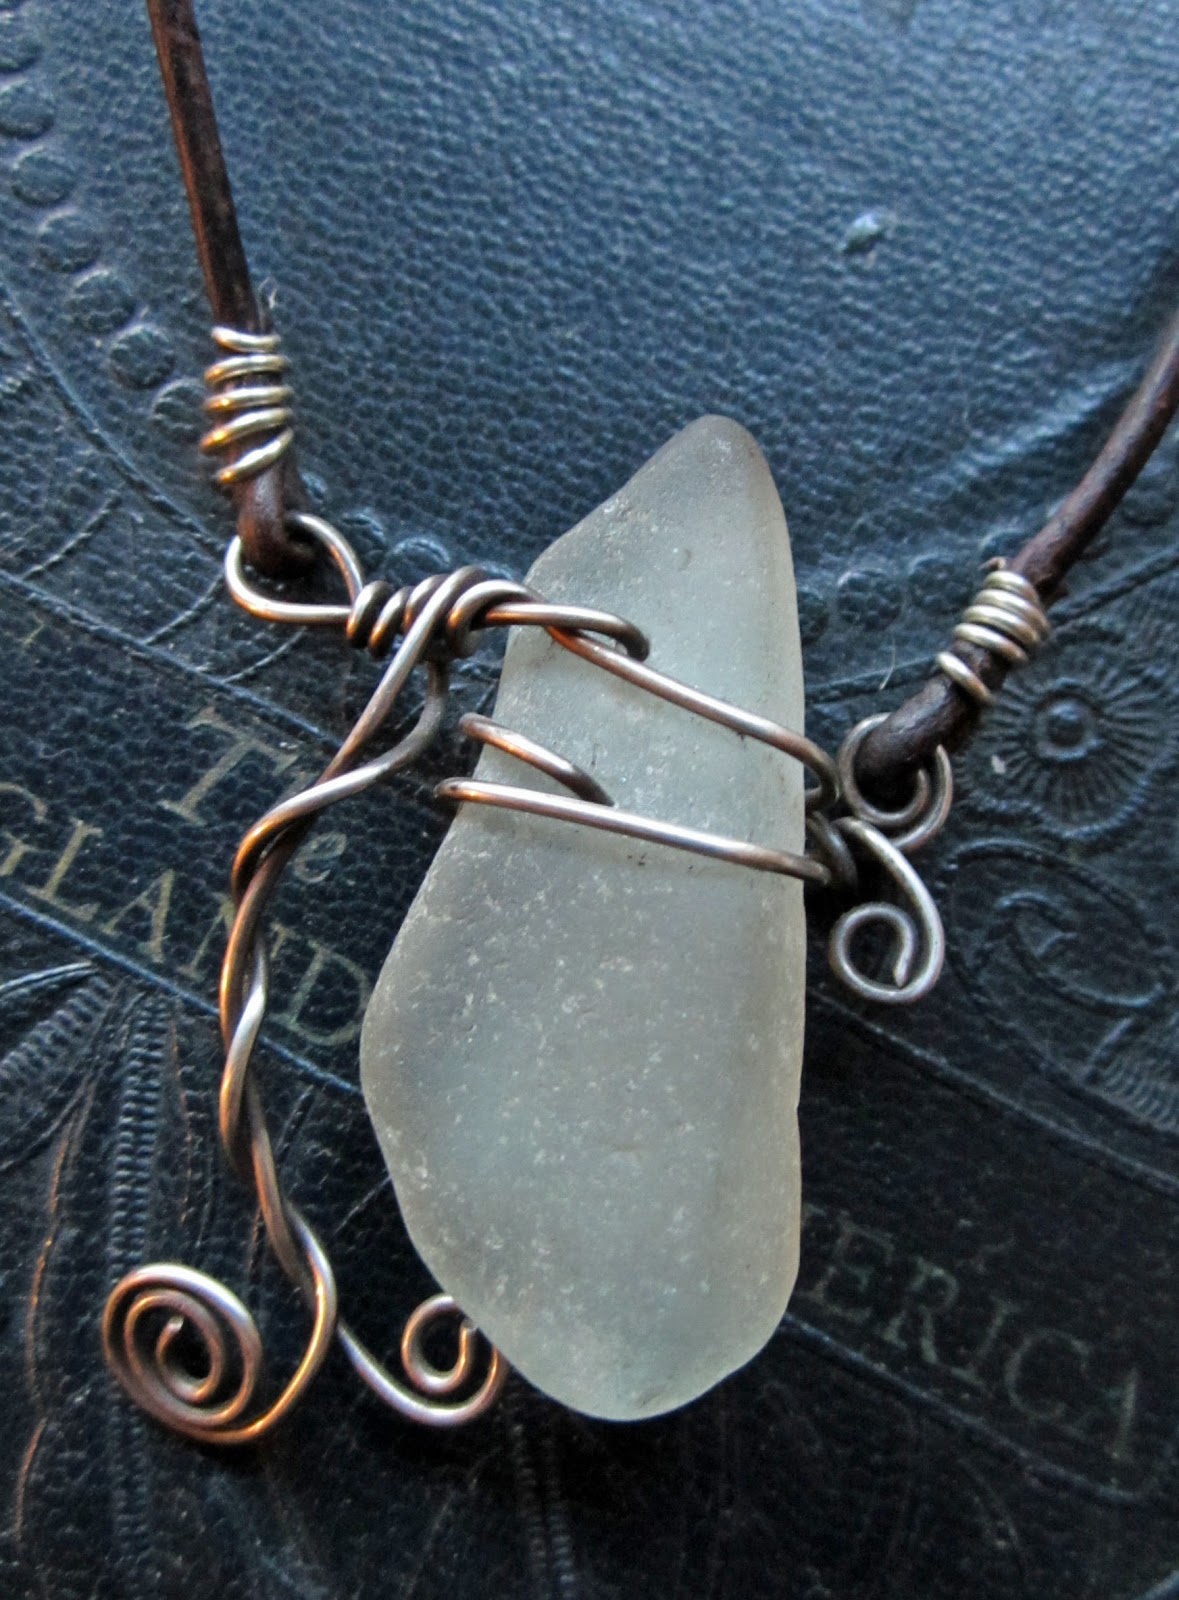
When I started- I basically learned so I could capture sea glass in wire.
 
 
Staci Louise Originals the early days.....lol


I never took a class to wrap stones or sea glass (obviously) so there was a lot of trial and error.  The most important thing to me at first was to learn to capture the glass securely, so it couldn't be pulled apart.  There is nothing worse then wrapping something up really nice and then it pulls apart off one side, and your sea glass falls out.
 
Then I learned to drill sea glass, so the wire wrapping was able to become more decorative and less functional.
 
 
(this was all sterling silver mind you, back when it was $8-$12 an oz!!!!)


Then I tried this style below, the loop with beads wrapped around the outside, and only made a couple....it just wasn't me
 
 
However, trying this allowed me to think about making a wire frame and attaching beads to it.  So, of course, I took this technique and ran with it- and made it bigger...................
 
my tide line design in sea glass
 
AND BIGGER...................


Then I added wire as charms and adornments to my beaded pieces


and that is about it. 
 
 
Free form wire work- just try it, and be bold and have fun!  You won't discover anything amazing if you don't try!
 
I hope seeing my early work has inspired you to just jump in and try.  And remember- post your progress, experiments and success's in our flickr group (for the current Boot Camp Only)! 
 
have fun!
face
Related Posts Plugin for WordPress, Blogger...