Showing posts with label lampwork. Show all posts

Monday, March 10, 2014

Asymmetry Boot Camp

by Staci L. Smith


Even a 9 year old can do it?
  
Perhaps. Maybe they are better at it then us, because they are uninhibited.  (Or maybe my 9 year old just has my kind of brain, drawn to things a little off kilter, just enough to be interesting. ) I don't know, but it was neat to observe the making of this yesterday.

by Julia Smith- art bead focal by Jenny Davis-Reazor

Julia finally got the jewelry making bug, and her and I sat down so I could show her some basic ways to assemble her bead collection into jewelry. 

I showed her how to wire wrap, and she put together this piece.  I laid out the focal for her, and she selected the beads to go around it.  To my surprise, she made it asymmetrical.  Not even a worry that both sides didn't match.  Then she added the matching droplets on each side.  I liked that touch, that she added something similar on each side to create a little more balance.

(it still needs a clasp- almost done)
I am a proud mama!
~~~~~~~~~~~~~~~~~~~~~~~~~~~~~~~~~

Really, I wanted to post today about bead making and buying as it pertains to asymmetry.  I see people post all the time on facebook, asking how many beads they should make in a set.  Do people want even numbers, or odd numbers?  There is never a definitive answer, because some of us work symmetrically, and others asymmetrically. 

So, if you want to push yourself to try asymmetry, I suggest embracing those odd lots of beads, the orphans, the similar color sets that none of the shapes match..........it may help you to try it out.

I make my bead sets that way, all different, usually with odd numbers of beads in them.  I do it, because that is what I would buy, and its what I use in my jewelry.  As a matter of fact, I made some beads sets so big, that I thought, if I just added a few beads here and there, it would be an asymmetrical necklace.


So to test the theory, I made this (also because I couldn't make these sets to sell without using one myself)

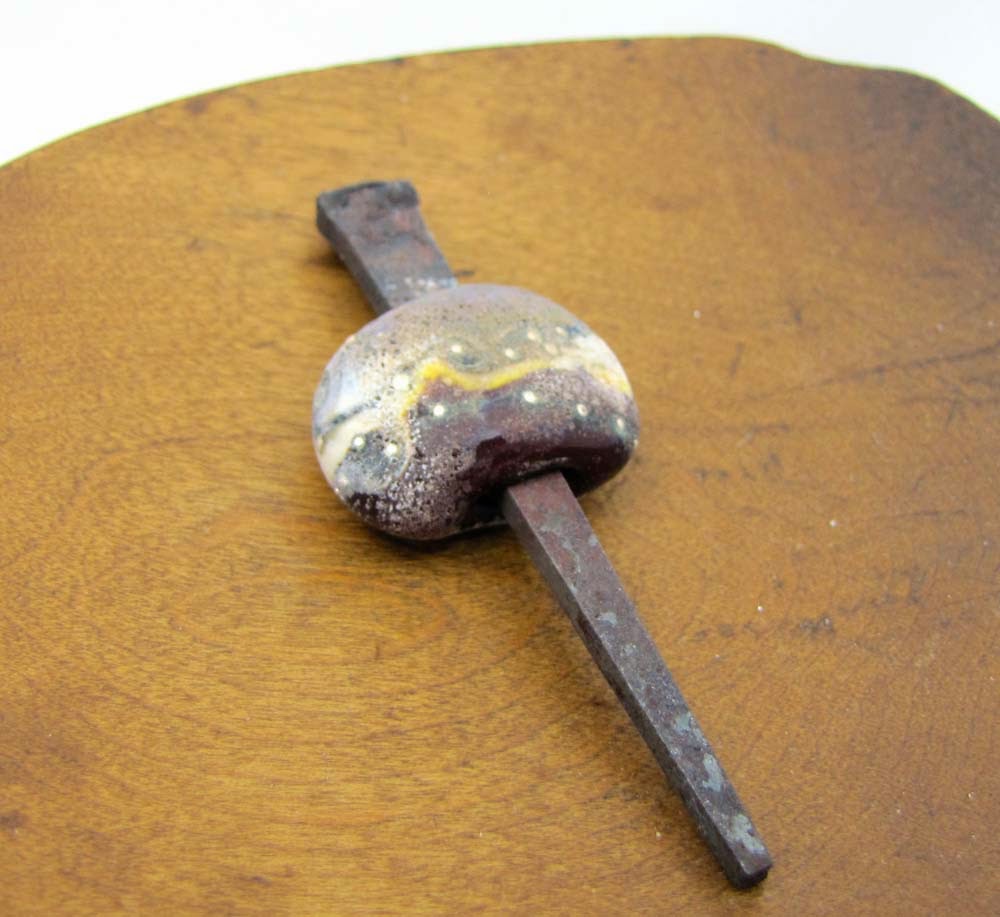
focal and organic polymer by me, ceramic spiral pods by marsha neal studio, rustic lampwork focal by Genea Beads, raku ammonite by Suburban Girl Studio and black ceramic rounds by Starry road studio

One strand of my organic mis-matched beads.  A few other art beads, and gemstones, and some fancy arranging.  Voila- asymmetrical necklace.  

So, here are some links to non-matchy or odd numbered sets to get you inspired!!!

https://www.etsy.com/listing/182070680/wing-dings-ocean-beach-stone-jewel?ref=shop_home_feat_4


Another thing you can do is find a fun shop where you can mix and match beads to create fun asymmetrical designs.  My Elements is one of those shops.  Yvonne has a great selection of fun bits and bobs- and she creates many shapes and sizes in similar colors, so it makes it easier to create asymmetrical pieces that are unified by color.  


Here is a pair of earrings she has in her jewelry shop, Drool Worthy.  
They have great balance in shape and color, but are definitely not symmetrical.


I hope this has inspired you to try out some asymmetrical jewlery!  Remember to enter your pieces in our flickr group, with a description of what you made - and some reference to Boot Camp in the description or title too.

Most importantly- have fun!!!!


Thursday, September 26, 2013

Nails & Stitched Hearts

by Kimberly Rogers of NuminosityBeads
Quite a few of us that make components are always on the lookout for ubiquitous elements to use in our pieces. Things that are common to use in an uncommon way.
When I found a trove of rusty old nails on a scavenging foray I wondered how they would work with lampwork.
I had no idea how they would be received but it was some torch play I was looking forward to.

I was pleased with my results and even more please when I saw how someone creative like  fancifuldevices would actually incorporate it into a necklace design!

By the way, fancifuldevices has a new tutorial on setting rough stones with epoxy putty!


Then I experimented with plunging little steel cut nails of the hardware store variety into the hot glass
I call it "Steampunkture"

This chunky piece might be a challenge in a design but I  couldn't resist the allure of the numbered railroad nail that I had found near our desert property in Arizona

"Lampwonk" is another name for this style of beads.


Here is how Pipnmolly has used one of my lampwonk nails in this magnificent piece.


The beadmaking is a little different in how I have to apply the glass as normally I can simply spin a mandrel this is a little less graceful application resulting in a more freeform bead but I enjoy seeing what evolves from my clumsy application of the hot glass.

I discovered this shop on y search for jewelry incorporating nails.
these are the creation of Beardyman in the UK.
These are horseshoe nails

Maybe we can convince him that it would be worthwhile to ship outside of the UK, what do
you say? I'm sure he'd love to hear from you. At least go favorite his shop.

Now here's another favorite component make of mine that uses nails in the most imaginative way.
whimsical, earthy and edgy in turn

I adore her use of the little hardware nails with amazing raku brilliance and creative shapes.

Which is a perfect segue to stitched hearts.
This crusty number by another one of my favorite  ceramic component makers - 


and here's some polymer clay stitchery by the lovely Jana of HappyFishShop

and one of her stitched hearts which looks like a rusted patinated metal bit.

This brings me to our own Staci Louise of SLArtisanAccents who has been making these stitched metal hearts.
Can you see this sort of component being featured in your designs?


Wednesday, August 21, 2013

Against the Odds


by Genea C-K


Wow, isn't that quote so true?! It's been a crazy last couple of weeks still prepping for Bead Fest Philly. Do you ever have those times where it seems like the world is against you? No matter how hard you try there is a some bump in the road that you manage to trip over despite your best efforts. I have been having a string of those days. Here I am prepping for this milestone mark in my glass career. The one thing I have been dreaming about since I started making beads. "Making it". Getting into that HUGE bead show and making a mark for myself in the bead world.

I would say attending this big show is just as much as a triumph as our move to Portland, OR. Against the odds we did it. It was my biggest success story until now...BUT not without many troubles along the way.


Those that lampwork saw this photo and immediately knew what happened. I broke the bead release. If you look on the left and right side of the bead you will notice that that whitish/gray is missing and that I have 2 big blobs of clear acting as "bumpers" to keep my bead from sliding right off either end of the mandrel ! I managed to save this bead from disaster, but I wasn't so lucky for the beads that followed...


OH NO!
This gorgeous bead that ended up taking me way longer than normal has a split in the top layer of glass! I saw the split start while I was working the bead and tried to "heal" the glass by re-melting it. I thought I had fixed it, but as you can see I was unsuccessful.


While creating this bead I literally "BROKE THE MOLD"! OMG you have got to be KIDDING ME?! Oh did I mention that this bead also managed not to make it?! *sigh*


When I inspected my beads from the last days work I found another crack only in the top layer of glass! You have GOT to be KIDDING ME! Not only did this bead split, but the other 4 out of 5 focals I was desperately trying to create cracked. So what the heck happened?!
Since the bead didn't split all the way through the layers this leads me to believe it's an "incompatibility crack". This means that 2 of my rods "didn't get along". So either my coe(coefficient of expansion) was different. How do we remedy that problem? SCRAP ALL OF THE GLASS I USED. UGH! I hate to waste all of those rods especially when this is just about how much I have left...


I was in town treasure hunting at "The Bins"(Goodwill outlet) with my mom and sister hoping to find some awesome new clothes for my Bead Fest outfits. The weather was absolutely GORGEOUS with cool temps and a nice breeze. I decided to stay in town and do my studio day on Saturday instead of Monday. Sweet a few days ahead of schedule! Then no more waiting a few more days stressing til I can get into the studio!
I sit down to work, and begin cleaning my glass. My mandrels are all dipped and my headpin wires are all wired up. I go to pull out my tools and realize my tool for my urchin beads is AT THE APARTMENT. UGH!

My last studio day's plan was to re-make the XL "Ocean Urchin Focals" I lost the other day! Now what? This was a bulk of what "had" to get made today? Well luckily for me I had more than one urchin tool so I had to use the other tool instead the urchin impression raised instead of indented like my other focals.

So after that dilemma I created 4 XL focals with new rods instead of my problematic bunch from the last session. The beads seemed to be working out great! *HUGE SIGH OF RELIEF*

Now onto the last task, making the "Bright Earth" Pod headpin sets. Almost done and smooth sailing now, right?! WRONG....


The glass I use for these sets is really soft. If the glass is too hot when I make the pods it pulls all of it instead of just the tip of glass making that wonderful pod point. So as you can see I was having an awful time finishing up the headpins. Oh and not to mention that my glass was running out at an alarming speed.


So you get desperate. As you can see I stuck many little "shorts" together to milk every last bit of glass out of my remaining rods.
I had wrapped my headpins wires too long too so to get more stability winding glass on my headpins I had wrap an extra wrap of wire at the top to stabilize them .


I FINALLY finished only a "short" (ha ha) 5 hours later.


The last kiln load program was set and I was finally DONE. Making beads! *Whew*


Check out this baby! I had some more bead release break on me that last session too, but against the odds I did it!


The "Bright Earth" pods turned out awesome! Thank God! Success!
I spent yesterday packing up and inventorying my beads.


Bags of beads getting inventoried on the computer.


Totes to load up with show stuff.


My empty display.


Jewelry to price and inventory.


 One full drawer of inventoried beads.


 Side view of the drawer full of beads to show scale.

So that brings us to today. I was so tired from inventorying beads that I decided to do my blog post this morning, BUT the internet is DOWN! #$%^&^%! So here I am posting from my phone and computer and transferring thing s through drop box to my cell phone where Staci is kind enough to post this blog for you all to read. (so if its wonky, that is why)

It's rough, but you know what? I am DOING THIS! I was MEANT TO DO THIS! THINGS WILL WORK OUT! This will only make my huge show success that much better of a story!

So if you are going to the show come see Staci and me at booth 371. Come give us hugs, and celebrate our big show with us. For those of you that don't get to attend, write us a post on Facebook.
We LOVE YOU ALL and it is because of YOU that we get to do THIS!
"I never said it would be easy. I just said it would be WORTH IT!"
xo Genea
face
Related Posts Plugin for WordPress, Blogger...