mary jane dodd
'every leaf speaks bliss to me,
fluttering from the autumn tree.'
~ emily bronte
trees bursting into flames of orange, red, yellow... leaves falling like rain... rustling against your shoes as you shuffle through them... finding yourself unable to resist their pull...
your challenge for the month -
color and movement...
color and movement...
there are many ways to create movement in a piece... using split rings and wrapped loops to dangle beads are some easy ones...
but i really love wire paddles and trapeze components - i find them to be fun and versatile...
this trapeze has an open top and uses a wire paddle to highlight a special bead (here a lampwork glass bead by our own patty lakinsmith)...
if you would like to try these, you don't need much...
12 or 14 gauge wire for the trapeze
18 gauge wire for wire across the trapeze
14 gauge wire for the paddles
(all wire purchased at the hardware store)
beads
mini washers, bead caps
a hammer
a bench block
round nose pliers
chain nose pliers
flush cutters
metal file
something round to wrap wire around - ring mandrel, prescription bottle, anything you can find in the house that does the job...
for the paddles...
but i really love wire paddles and trapeze components - i find them to be fun and versatile...
a trapeze can have a wire across the top to hold more beads (here i used lampwork glass by mika collins at pinocean) ...
this trapeze has an open top and uses a wire paddle to highlight a special bead (here a lampwork glass bead by our own patty lakinsmith)...
if you would like to try these, you don't need much...
12 or 14 gauge wire for the trapeze
18 gauge wire for wire across the trapeze
14 gauge wire for the paddles
(all wire purchased at the hardware store)
beads
mini washers, bead caps
a hammer
a bench block
round nose pliers
chain nose pliers
flush cutters
metal file
something round to wrap wire around - ring mandrel, prescription bottle, anything you can find in the house that does the job...
for the paddles...
cut a 2" piece of 14 gauge copper wire... file one end... when you hammer metal, you move it... to create paddles begin in the middle of the wire and work your way down towards the end... the more times you hit, the flatter and wider it will become... so you want to hammer the most down at the end to create a wide paddle shape... if you have rough edges, use your file... remember, files work in the stroke moving away from you... use it only in the one direction, never using a sawing motion, as it will dull the tool...
slide a bead down the wire to see where (and if) it stops... i use washers or bead caps to adjust the placement of my bead... personally, i like when the earrings aren't symmetrical...
the beads on the earrings above have very small holes and didn't require any washer at all...
the holes in these beads happen to be a bit larger...
for the pendant i chose bead caps...
using your round nose pliers you will create a loop at the top (trimming off excess first if you feel it is too long)... place loop over your ring or trapeze and tighten with chain nose pliers...
the trapeze is simply constructed as well...
(here i work off of the longer piece of heavier wire)
wrap wire around a ring mandrel, prescription bottle, wooden dowel, handle, hammer head, anything that does the job...
cut opposite side...
using your round nose pliers, create loops at either end... you have a choice of whether to orient them to the side or the back...
i usually hammer at this step and use my fingers to work the shape the way i would like it... hammering work hardens the metal and allows it to keep its shape better... my aesthetic choice also happens to be a bit more rustic... if you have a tumbler, you can keep your piece round and shiny and harden the metal that way...
in the finished pieces above you can see how the different loop orientations affect the design... in this one i ran ball chain through the loop...
please do not feel limited by these ideas - they are just that... create movement and color in your own beautiful way... we are waiting to see your interpretation...
now for the rules of the art spark:
1. all work submitted must be 75% handmade - you can use components made by others - but we encourage you to experiment as well...
2. please submit your images to our flickr group... unlimited submissions per artist, up to 3 views of the piece... however, you will be entered once for our monthly giveaway... and you will be in the running for designer of the week once as well (we need to spread the love, right?)...
3. along with the image, a glimpse into your process, some insight would be appreciated... also please give credit for any work that is not your own...
4. your work does not have to be completed jewelry... if you wish to submit images of components you make, that is just fine... again, some insight into how it relates to the theme of the month would be great...
here is what our sponsors have donated for the month:
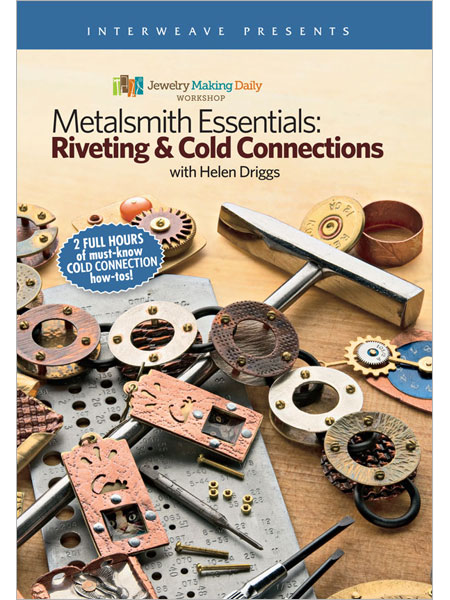
dvd on cold connections
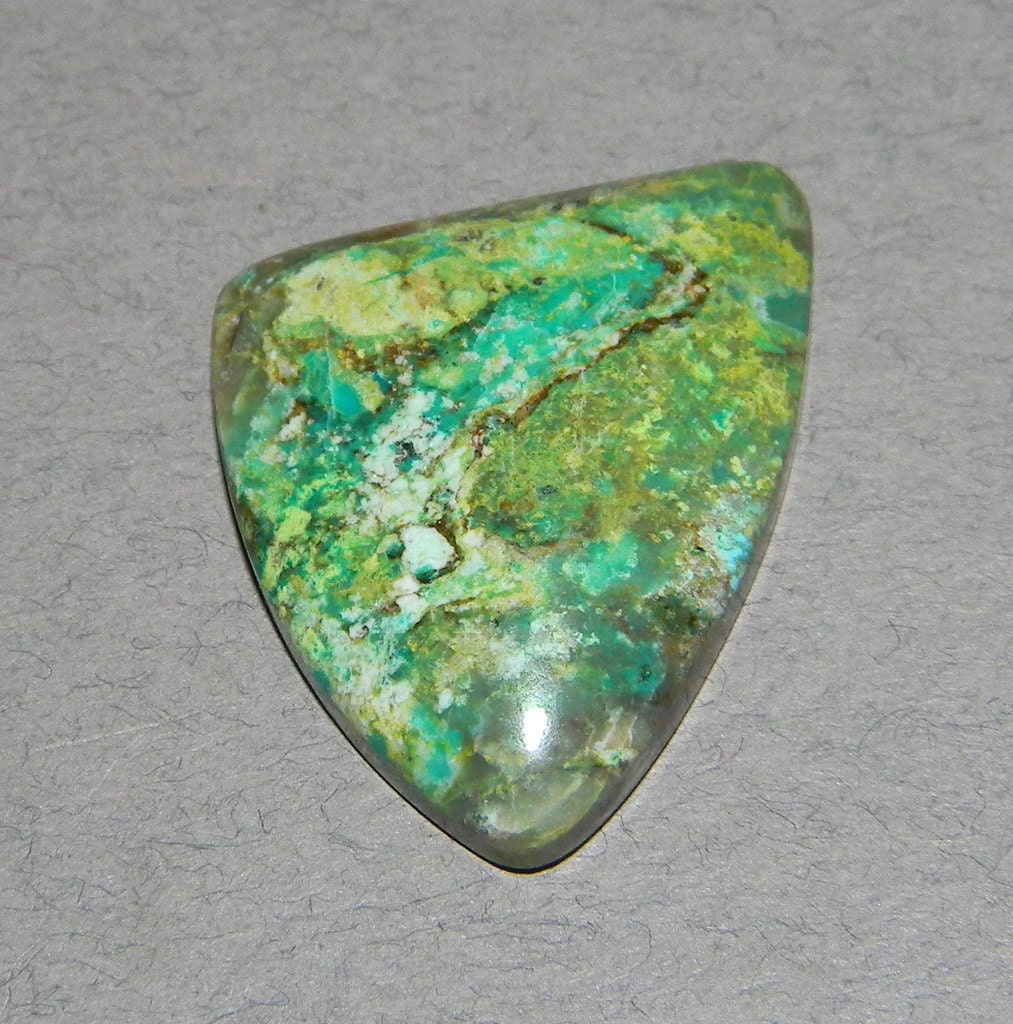
cabbing rough
gorgeous enamel work from
how it works:
a weekly designer is chosen from the flickr group on mondays...
a randomly chosen participant on october 31st will be the winner of items donated by our sponsors... please have your images uploaded by the 30th, i would hate for anyone to be overlooked because of this...
*** this is the one year anniversary of our challenges - thank you to all those who have participated in the past and will participate in the future... we value the symbiotic relationship that has developed... we learn from you as (hopefully) much as you learn from us... the collaborative nature of this community is one we are proud to be involved in...


9 comments:
This is a fun challenge! I love how some of my earrings move; sometimes brushing my cheek, reminding me that they're there. I always consider movement when choosing what sparklies to wear. Thank you for the mini tutorial. It makes me want to run out and get copper wire pronto. Beautiful ideas, I am excited to see the entries this month~
This is a great idea! I can't wait to see how artists use this with their own personal style. I get most of my wire at Lowes or Home Depot. They will cut off wire from large spools and then I unravel it. I think it is in the electrical dept.... maybe plumbing.
MaryAnn
Thanks so much for the inspiration and challenge. I am definitely inspired. I can't wait to get started!
Congratulations on one year of Art Spark! I am sorry I have missed it up until now- I hope to follow along now that I have found your page. This is going to be fun! :)
Hi Maire, wow!! what a challange and right up my ally as this is what i have working on...working with wire just fasinates me and i am so intersted in the cold connections too...i just received a whack of different gauge wires and the proper chasing hammer..the first one i purchased was completly flat..i couldn't figure out why i could never get the wire nice and flat i would hammer until my arm fell off...fast forward to the proper hammer a chasing hammer with a curve head OMG makes all the difference i acctually love hammering now b4 i was so frustrated wonder why i couldn't get it to look like the pictures...anyway thanks for the tutorial i will add it to my collection.
Happy Monday ttfn Lana
Wonderfully inspiring, Mary Jane, and glad to see I'm not the only one wandering around the hardware store looking for finds. :-) Can't wait to see the work that flows from your ideas.
Great Art Spark Mary Jane!!!!!! Can't wait to see how people are inspired!! :)
So beautifully done MJ, love what you designed. Truly inspired by nature once again. Riki xox
I adore the concept of movement of pieces in a meaningful way. Happy accidents are most welcome - but I enjoy how ideas manifest through inspiration and experimentation… Your challenge provides great inspiration! Thank You!!!
Congratulations on the anniversary! I've only recently found you, but I've given the challenge a go this month.
Post a Comment