Showing posts with label rings. Show all posts

Wednesday, July 6, 2016

Ring display-TUTORIAL...and latest porcelain creations

Carol Dekle-Foss
Hello everyone!  Recently, I ran into the problem of not having a way to display new rings for an upcoming festival. I wanted to display them in a simple, unique way that would make each ring stand out. It seems like booth design is an ever evolving challenging process! For me, rings are the most difficult to display.

Here's what I came up with for the festival.


 I just cut a slot into little wooden rounds! They display nicely this way, and I also like being able to move them about. The only problem is the rings keep falling over! So annoying. 

 I decided to give it another try and do a tutorial with what I came up with. 


I have a plethora of little rounds that my husband cut out and these leather swatches. I wanted to use what I had on hand so this is what I made.
I just glued two rounds and a piece of leather together. I cut the edge of the leather as well to make it look a bit worn and frayed. It's deeper now so the ring sits in there much better. I'm still deciding if I like it though. See, always a work in progress! If the customer wants, I can always include the display with the ring as an added bonus!

Here are the easy steps:

After I glued all the pieces together and let dry, I marked the thickness of the band with a sharp edge.


I then used a diamond cutoff wheel and flex shaft to cut the edges. A tiny saw blade might be better for this step, but they freak me out! Yep, I'm scared to death of saws, even tiny ones!


I improvised here and used a little screwdriver as a chisel. I hammered the top of the screwdriver lightly to cut out the ring slots. It's so simple and fun to make! 

I think I like the idea of cutting out larger rounds that can hold 5 or 6 rings, and then have 3 or 4 scattered around the booth. That way I can organize them by style. We'll see!

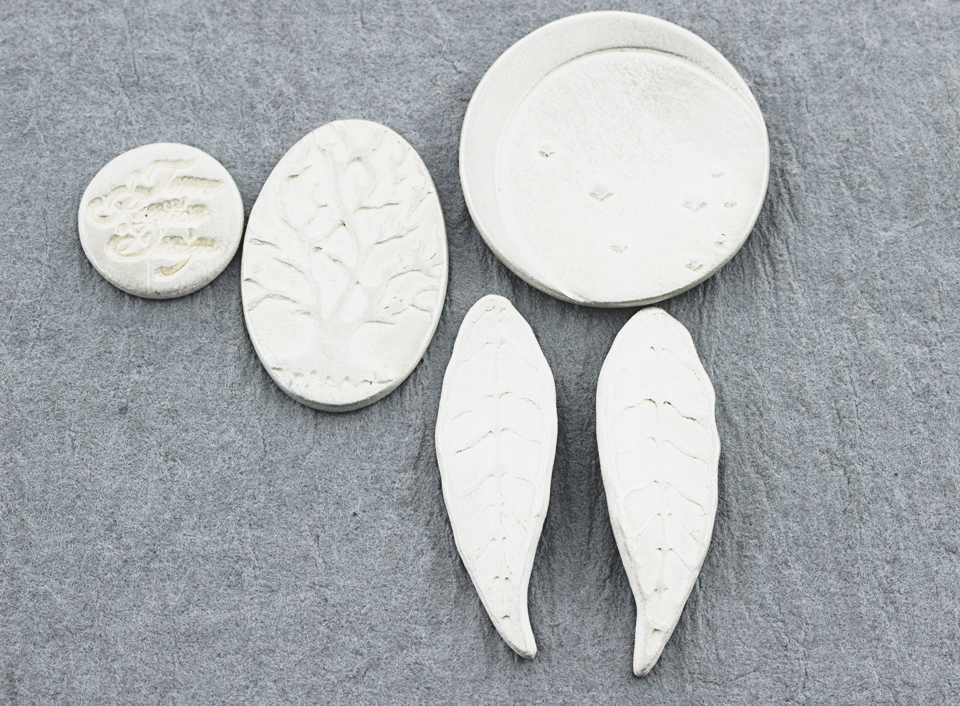
Also, last week my husband and I were able to play with clay. 
I never get over how different they look when they come out of the kiln!

Here are some of our favorites.

These mandala pendants are so yummy!!

Sacred spiral pendants. Oh my, I love the swirling glaze pooling in the crevices.

Such a sweet detail. Leaf swirl pendants.

Dreamy cherry blossom pendants! I have a few listed in the shop.

And lastly, these adorable teensy weensy beads. They are so cute!

So how do you overcome the challenge of displaying your jewelry? I would love to hear from you!

Wednesday, February 3, 2016

My first attempt at Precious Metal Clay..and latest creations

Carol Dekle-Foss
I have always wanted to try precious metal clay, but I was under the impression that I couldn't fire it in my kiln sitter kiln. I was very happy to discover this is not the case! All I have to do is use cone 014. Easy! After I realized this, I immediately bought a pack of  PMC+ 45g to give it a try. So on top of practicing making rings in different sizes, I have also been playing with precious metal clay. Here are my latest creations over the past couple of weeks.

First, I have been obsessed with plain stacking rings and bands and have been wearing this set ever since I made them. 

I then decided to make a ring using the reticulated silver I made a few weeks ago. I tried to make it a size 9 but it ended up being size 10. Oops! Oh well, it's meant for someone! I listed in my Etsy shop here

The crescent moon and pleiades ring was made from precious metal clay and then soldered to a ring shank made from sterling silver crazy-8 half round wire from rio. I love this wire for ring shanks because it's super comfy to wear, sturdy and easy to use.
I was able to get more detail from the metal clay than if I had rolled sterling silver sheet through a rolling mill. The stars and moon are a bit more puffy and show up more after being polished. I learned quite a bit about metal clay making this ring. I also nailed the size as well. Win! I love how it turned out, and will be making more, but I want to set a tiny faceted gemstone in a stepped bezel in the top left hand corner. More techniques I have to learn! 

Here are some more precious metal clay pieces I was able to complete. 


After I finished the below piece I realized it had a tiny air bubble. I tried to fix it by sanding but it just made it worse. It looks like a little crater, and unfortunately it's not part of the design. Lesson learned! Porcelain gets air bubbles too, but at least you can somewhat cover them with glaze. Air bubbles in metal clay can wreck a piece!

These pieces are fired but still need to be brass brushed and tumbled.

Overall, I love working with precious metal clay.  I think the design possibilities are endless and it's fun to work with. What I don't love is the price. Holy moly it can be pricey. I would have to mark up my pieces quite high to make a profit. Hmm. I am still debating on what to do about that. I may give white copper clay or bronze a try, we'll see.

If you want to learn more about metal clay, there are tons of tutorials online and on Youtube. Our very own Staci makes beautiful pieces in metal clay and has done quite a few posts on Love My Art Jewelry. In fact, if you haven't read it yet, she recently tried steel clay and did a post here about her experience. And here's another post from her on white copper clay. Thank you Staci!

Never stop learning and growing!
Thank you for reading. 

Wednesday, January 6, 2016

Bezel setting tools-handmade

Carol Dekle-Foss
Happy new year!  I wish you all a healthy, happy, and prosperous 2016 and that this year brings you closer to living your most authentic life possible. So far, I've hit the ground running. The day after Christmas I started a complete overhaul on my studio. I worked for four days straight organizing and getting rid of unnecessary things that were killing my creativity. 

Also, one of the things I've been focusing on is making rings. I've never been that confident in making them or setting expensive gemstones. I started by downloading and printing this ring sizer chart by Contenti. I like this chart because it takes into consideration the thickness of the material you are using and gives the the exact dimensions your ring shank should be.
Ring Blank Sizing Chart
I then made these.
I'm happy with how they turned out, size wise but I still have ALOT of practicing to do. Like Patti says, practice, practice, practice!

For instance, this poor ring. The bezel setting is not bad! Oh, but look at how I completely DESTROYED that beautiful fluorite stone. OOPS! It has hairline cracks and scratches everywhere. I realize now I shouldn't have set the bezel so high and pushed MUCH gentler when setting. I am still learning!
This brings me to my bezel setting tools. 
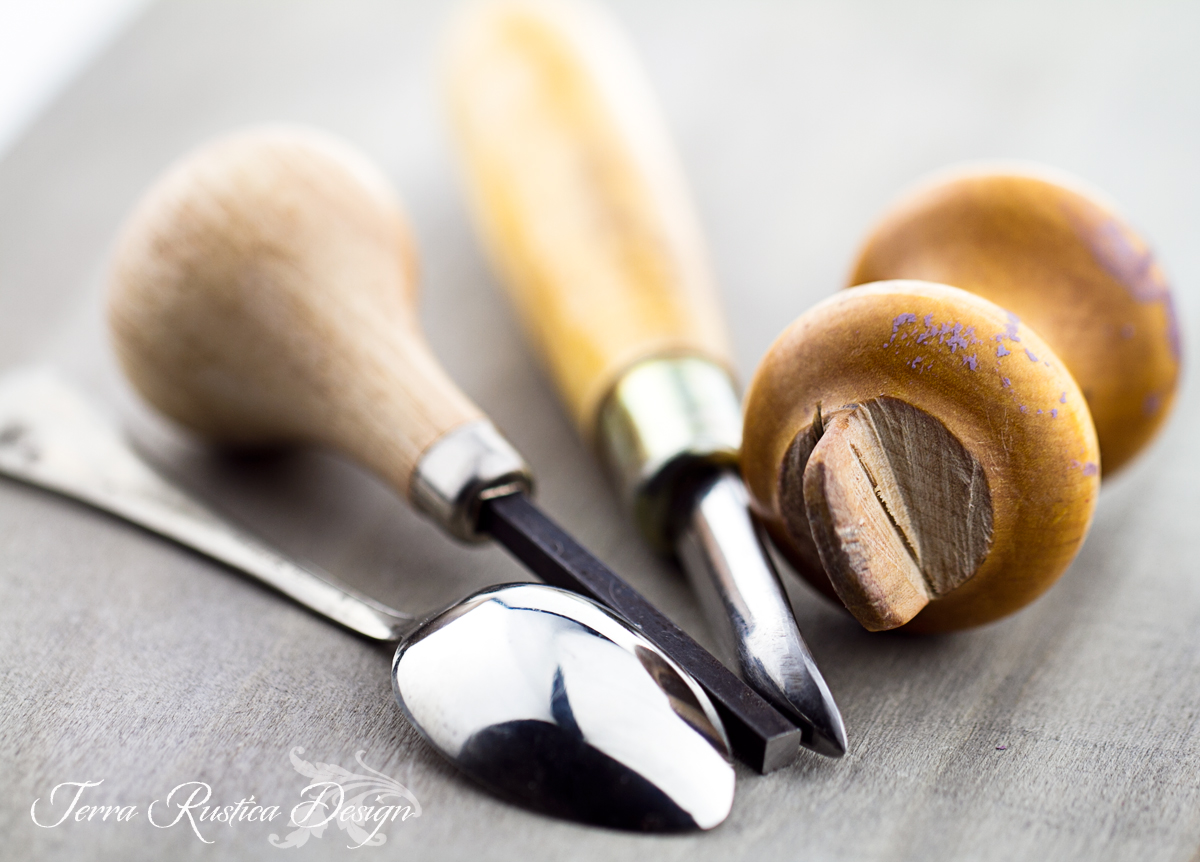
I use a small sterling silver spoon, a burnisher, a prong setter, and a handmade wooden bezel rocker.

I prefer to use this handmade wooden tool to set most my bezels, because it fits perfectly in my hand and doesn't scratch or crack my stones. (The above ring was damaged by using my prong setter in the corners. I won't be doing THAT again) That's my curious kitty Abby. 
She's such a doll.

Do you have a mini backsie roller laying around the house? I've had one for years, and realized it's the perfect size for a bezel roller. I marked the lines with a mini t-square and sawed out the shape. You can also cut out wooden dowels in the shapes that you want. I think I'm going to make another one out of a small wooden dowel for those hard to reach areas. What's nice about making your own tools is you make them according to the way you work and tailor them to what you want. This handmade bezel setter is one of my most favorite tools in the studio! Abby likes it too.

 I plan to to make a TON of new rings, and by this time next year I will be more confident and won't crack anymore stones. Ha! Ya right!

Thank you for reading!

Thursday, September 18, 2014

Inspiration and Evololution

by Staci L. Smith

It is no secret, that most of us who make beads and / or jewelry......LOVE beads and jewelry.

I am no exception.  So when Karen McGovern made these rings, I had to have one.


She made me one special, just for me....

(I added the wire to make it just a hair smaller so I could wear it on my pink.....i love it!)


She also sent me some of that wonderful aquamarine, and some citrine crystals too.  I was thrilled to have some, and I loved this design so much, I wanted to make myself a necklace to match.

Of course, I added some more rustic elements- mastadon bone beads.....and i  am not one for measuring, so, its a bit rougher.  However, I am so happy with how it turned out.  


I didn't measure at all, just cut some silver that looked like enough to fold up, made a few cuts so I could fold it, and added my beads, and worked it like a huge bezel.  I added some balled headpins on the ends to add the chain.  I love little cabinet curiosities, and boxes always always always had my heart, so this got the ball rolling in my mind.

I made another in copper, and then I made some shallow, large copper boxes, and added some large and small gemstones to make a sort of shadow box pendant.  I also made another silver one that is really rustic looking, not sure I love it, but it has sea glass and a fossil shell.


 I just love when another artist inspires me so much.  The process of watching a simple concept, like "box"  or "capture" evolve and change into many forms.  That is why I love surrounding myself with art.  I see color schemes that inspire me, or a texture, or a shape......and I have to try it in jewelry.  

Wednesday, June 19, 2013

Resin - A Love/Hate Relationship by Karen McGovern

Resin has come a long way, baby. I've recently been experimenting with jeweler's resin, thanks to the inspiration of Susan Lenart Kazmer and her Ice Resin. Ice Resin is a fairly recent development in the mixed media art jewelry world, an easy to use, crystal-clear resin specific for jewelry design. The possibilities are endless...fill bezels and embed gems, color it with inks or powders, layer it, add metals, glitter, dried flowers, coat art paper, anything you can think of. It's quite amazing what you can do with a bit of imagination and some free time.

As you probably figured out from the title of this post, I both love and hate resin. I love it because my head is filled with a million ideas to use it, I hate it because I am the most impatient person on Earth and have limited time and space to work on jewelry in the first place. Working with resin takes time, patience, and attention to detail. Three strikes, I'm out!

For those of you that haven't tried Ice Resin (or similar products, the are several jeweler's resins out there now), I encourage you to do so, but be prepared. You need a dedicated, clean space to work, and a clean, dust-free space to cure. Cure time is at least 24 hours. I'm including some links and photos here of my favorite products and artists working with resin to inspire you. It really is a fantastic art product that totally frustrates the Hell out of me! I long to be able to create works like these, from Altered Alchemy and Susan...gorgeous! Sigh....


I am a schizophrenic artist at best. I flit between projects, never make the same thing twice, and jump between media like a jack rabbit. I also screw up...a LOT. So, I shall share my most recent resin screw-up, which I actually managed to salvage, thanks to a surprising automotive product. Are you on the edge of your seats yet??

I recently was inspired to make a ring based on a pomegranate. I constructed a brass ring with a dish-style bezel. Really pleased with how that turned out. I planned to fill the dish with tiny garnets in resin, representing pomegranate seeds. As usual, I was going for broke, in a hurry, and mixed what I thought was the perfect amount of resin, and set my garnets. Lovely. I carefully placed the ring in a clamp, set it in a dust free space (a shelf in my kitchen) and tried not to have a brain embolism waiting 24 hours. The next day I snatched the ring from the clamp and found the garnets resting in a pile of sticky goo. What the...?? Okay, maybe it needs to cure a bit more....imagine the Jeopardy theme song in the back of your mind as I waited, and waited. Test number two, now 48 hours...still a pile of goo, with garnets in it. Craptastic! At this point I had to accept that I had not mixed the resin correctly. I obviously used too much resin and not enough hardener, even though I thought I was being very careful. You need to be precise, one part resin, one part hardener. Soooo, I spent an hour scraping the mess out of the setting. When I was done, the setting was free of most of the resin glob, but still coated with a film of sticky gunk. How to clean? I didn't 't want to use paint thinner, I was afraid it would affect the patina I had painstakingly created on the brass. Salvation came in the form of a can of WD40. I knew WD40 worked well to remove adhesive residue, so I spritzed it into the setting, and wiped it around with a Q-Tip. Viola! The resin wiped away completely, and the patina wasn't affected at all. Rinse, dry, ready to go again. This time I used calibrated syringes to measure out the resin and hardener, mixed, poured, set the stones, and THANK YOU JESUS IT WORKED.

WD40, the miracle in a can, and the ring that tried to kill me.
The moral of this story? Patience is indeed a virtue, which I do not possess...and, WD40 is pretty awesome.

Also, there is another type of resin out there for those of us who need instant gratification. UV resin. Lisa Pavelka's Magic Gloss is a pre-mixed, ready to pour resin that cures in sunlight in about 5 minutes. It must be exposed to UV light to cure, you can even purchase a UV bulb set-up specific for this resin. Nunn Design also has their own version, and the product is fantastic. BUT, you cannot color or free-embed anything using this resin, since the UV light has to penetrate completely to cure (yes, I learned this the hard way). I love this product for coating paper/photos or filling bezels that are fixed with items glued down to the base. Resin-coated papers are my favorite thing at the moment...more on that in my next post--"Resin-nating" (see what I did there??).
 
A necklace I made featuring vintage nudes UV-resin set in steel wire frames.


Until then, give resin a try and let me know,what you think. Share some pics and stories about your experiences. Stay sticky, my friends....
 

Saturday, May 7, 2011

RAW - the 52 week journey

mary jane dodd

earth is... fragile

inspired by earth day - using mica, paper, dried flowers, silk fiber... 

~~~
 
 earth is... bountiful

my goddess (she hangs upside down here) 

an open vessel, yet full of all that needs to be given...
reaching up and out into the world,
yet true to and in tune with the essence of her Self...
from the depths of one's soul, the beginning of time,
yet ever present and knowable..
created from the salt of the earth, the energy of the universe... 

Saturday, February 12, 2011

lessons learned

mary jane dodd

'nature is an endless combination and repetition
of a very few laws.
she hums the old well-known air
through innumerable variations.'
~ ralph waldo emerson

this is how i feel about rings - a few basic techniques needing to be learned well which are then repeated - but after that... well it's about raising the bar to whatever inspires... this week i added small gemstones to them... 


here inspired by conifers... 


here by the promise of spring... 


i was working on a version of a rustic engagement ring - using brass and nickel - soft silk and a raw diamond... 

lessons learned - 

the engagement ring is the second one i made... the first one taught me that even with the heat required to apply patina, soft solder will lose its hold... 

this engagement ring has a circle in the middle of the etching, so it has to be redone... as there is some etched pattern visible, i am thinking it must have sunk to the bottom of my container...

copper is a very friendly metal, it likes to snuggle - when it comes to chemical techniques, keep your brass and copper separate - unless you want plated brass... which is kind of cool, but not what i was looking for... 


** i just want to add here that i know these rings are simple in construction - i marvel at the skill of smiths creating truly magnificent pieces... one of my personal goals is to expand my knowledge in this respect... 

any casualties this week in your work? while they can be frustrating, ultimately we learn from them and keep moving - 

Saturday, November 13, 2010

when more looks like less

but helps you to express more... 


                                                                                                            mary jane dodd


take a feeling - like the infinite, the void, the source of all energy... how do you even begin to translate that? how does that vastness feel to you?


when i started to work with the shibuichi technique, at once it felt like i was on to my personal interpretation of it... there was an instant expansion in my thinking when i learned it... using energy - fire - to transform metal into a moving molten liquid... and then allowing it to assume its own beautiful surface texture... it feels very elemental and freeing when i do it... 


the ever changing present moment connects us to a time continuum... moments in time strung along a gossamer thread - delicate and yet strong... the power of one moment can exhilarate or devastate us... and yet it is part of our much larger life span... which is a small part of history's life span... but significant still...


learning how to patina was another huge step in being able to execute the concept... 


the inner workings ended up being heavily influenced by time i spent with my small children by the water... we would throw in different sized rocks and try to guess what each would sound like... 


and my spirit rattle was born::


the number of our moments is surely unknown to us - and are precious... staying present means you are participating fully and not just walking around on auto-pilot...

i posted this excerpt on my personal blog this week - it is very tied into the meaning of this ring and i wanted to share it here as well...


it is from 'the magic of findhorn' by paul hawken::


“The earth, once white and molten, represents a thought. It was a fire in the heavens, glowing as a sun, visited by the Deva of the Wind which came and blew across the surface, playing with the Fire Deva until all was mediated. The Deva of Water and Rain formed and collected in the skies and fell to earth.
Great clouds of steam issued forth from the surface, the skies were enlivened and heavy with its presence, and across the surface the Wind Deva began to cool, carve, and chisel away at the crust of the planet. It created pools and eddies, lakes and streams, and bigger bodies which we know as oceans.
With each successive change, a new Deva or impulse came forth until, like a procession, did the Earth receive the new hosts, each Deva bringing with it a variation of life ever present in the divine potential.
The Earth prepared itself to receive and serve the thought of a man and a woman. The Earth would be their temple and guardian; the heavens would be their guide and vision. Humans affirmed the link between the infinite spirit and the totality of matter. They related from the highest spiritual planes to the most concrete levels of form.
The Earth was for humanity to enshrine, to make holy, to blend their unique qualities and work as a family in cooperation with the Devas, the spiritual stewards of the planet.”
face
Related Posts Plugin for WordPress, Blogger...