Showing posts with label firing. Show all posts

Monday, December 21, 2015

Steel Clay: A Peek into my Playtime with a new (to me) Metal Clay

by Staci Louise Smith

I have been playing in metal clay for almost 13 years now.  I just dabble really.  I started out using PMC and have moved to copper and bronze clay with the rise of silver prices (and the size of my pieces growing each year!)

I found that when I started PMC there was a world of books and tutorials and information on the clay- how to use it and fire it.

However, when the base metal clays began to take stage, there was barely anything out there on them.  I think because there are so many, and some of them, like bronze, can be finicky, there is just no sure fire way to get it right each time (pun intended!)  Firing bronze takes some real trial and error to figure out how to properly fire your pieces.

(one of my bronze moons below)

In the process, I have tried white copper clay, because I wanted a silver substitute.  I didn't like it.  It tarnishes a bit like silver plate pieces do, and I didn't like the look of that (sort of a brown tarnish).

So I finally took the plunge and bought some steel clay.  I have been checking into Hadar Jacobson's steel clay on and off for years, but it always was a deal breaker for me, because it said it was brittle after being fired.  To me, steel should be strong, and I want my metal clays coming out of the kiln with all the qualities of the metals they are. 

http://www.cooltools.us/Hadar-s-Clay-Quick-Fire-Steel-XT-50-gram-p/stl-011.htm

Well, I checked recently to see what is new in the steel clay world, and found she made low shrinkage XT steel clay now, and it says its sturdy enough to stand on its own as a base.  So I bought some- back in August.  I was hoping to have some NEW steel pieces to sell at Beadfest, and jumped right into making a batch.  However, when I went to fire it in my kiln, I realized it fires WAY higher then bronze and my kiln wouldn't go that high.

(Steel clay low shrinkage XT fires around 1700-1750 degrees F).


So, after Beadfest I invested in a new kiln for myself.  Not only can it do steel clay, but it can also do ceramic.  (I bought ceramic clay as well, I can't wait to play with that!)  

Last week I finally hooked up the new kiln, made some more steel clay components, and tried out my new ceramic firing vessel at the same time! 

I must say, I LOVE how they turned out.  

Now, I know that steel rusts.  So, I wasn't sure how quickly this would rust, or how much I would have to seal it to prevent it from rusting.  

Well, let me tell you, it rusts pretty fast!

After tumbling the steel, I took it out and set it on a paper plate and paper towel to dry out a bit.  I didn't get in to sand and polish it right away.  By the time I got in here, about an hour later, it was already rusting.  It didn't rust much on the pieces, but the water that was draining off was rusty.  You can see here on the plate the rust that was left.


So I put them back into the water in hopes they would stop rusting.  I pulled each one out as I was ready to sand and polish it and dried it off really good.


Then I used a fine sanding pad to buff the high spots


.


Then I used a polish cloth to shine it up a bit


then they looked like these


After that I used Clear Guard to seal them.  I left two unsealed, and lightly sprayed them with water.  After a couple days, they look like this.  There is some slight rust in the unsanded recessed areas.


 I need to put another coat of sealer on the others before I test them.  Once I have sealed them a few times, I want to spray them, and put some in water, and see how it holds up to rust.  

In the meantime, here are my thoughts so far on the Low Shrinkage Steel XT:

1.  It is easy to mix and work with.
2.  It fires in one stage at full ramp, so that is a perk for me
3.  It does require a kiln that fires up to 1750 F
4.  It must be fired in carbon
5.  I really like the antique look of the metal once cleaned up and can see it fitting in with my work
6.  My only hesitation about it is rust.  So, I will work on making sure I find a way to create with it and not have it change over time.  (I will do a follow up on the post once I experiment some more)


For more information on Hadar's clays and how to fire them, check here

http://www.cooltools.us/v/vspfiles/assets/images/hadars_clay_instructions1.pdf

Stay tuned for a follow up post about how the steel clay holds up once sealed!  


Thursday, September 20, 2012

Base Metal Clays

by Staci Louise Smith

Silver metal clay was my first love.  I love silver jewelry. 

(some of my silver work)


 However, when the price of silver jumped, I bailed and had to try out this base metal clay. I started with fast fire bronze, since the ONLY book I could find at the time was this one.  (and its a good one too- I recommend it)
I bought the book, clay, and the firing tools I needed. I got a second set of dry working tools and I was off.  I am by far no expert, but I will share a little bit about this medium, since there is just not a lot of information out there. 
First I will start by saying, I only bought a second set of dry working tools, since I could wash the clay off my other tools more easily so it wouldn't contaminate my silver clay.  However, for sanding and filing I got a second set.  Its worth it, because if you get bronze clay bits in your silver its going to ruin it. 
From all the people I have talked to, the only sure way to fire bronze and copper clay is in a kiln. So I highly recommend firing in a kiln, in carbon.
Not all carbons are created equal, and this is where the guess work and playing around starts.  I have tried many carbons before ending up with one I like.  It's a personal preference really, they all offer various finishes.  I have talked with people who don't think they all fire the same either. 
You will also have to choose a firing container.  I used my good old stainless steel container for about 6 months. 
However, stainless steel is messy, and will spall, creating a black build up in your kiln.  So when Cool Tools came out with firing foil to make your own pan, with no mess, I bought it.  I loved it, for about a year.  It's inexpensive, and keeps you kiln clean, but it eventually wears down, and mine got holes in it, and then items near the holes were over-firing (bubbling). 


So I may go back to my good old stainless steel.  There are also these new ceramic firing vessels I'd like to try. I hear good things about them.  Perhaps down the road I will try them as well.  They maintain a better heat, so you have to reduce the firing temp while using them. 


Am I making you want to try this product?  There is honestly a lot of guesswork, and a lot of figuring every time you change a variable.  There are a lot of failures.  You get guidelines for firing, and most times they are good, but depending on the thickness and size of your pieces, and the age of your carbon, and the placement in your firing container, you can end up with pieces that are under fired, bubble or burst,
and you may never figure out what caused it either. 
 
I always try to hammer my pieces when they come out of the kiln, to ensure they are fired properly.  They should not crack or break.  If they do, they are under fired.

All in all, I love the look of bronze and copper clay. I love the price.  Even if I lose one or two pieces in each firing, it still is economical for me.  I am also someone who is open to learning via mistake, and doesn't mind a BIG learning curve, so for me, it works.  It may not be for everyone.
 
Working in bronze clay is a bit trickier at the "wet clay" stage,  then the copper.  It doesn't want to stick to itself as easily as copper clay.  So for working with the clays, I prefer the copper.   I think the copper tends to fire more consistently also.  But for finished results, I prefer the look of bronze, and its my go-to clay for making components.  I use fast fire bronze, and it shrinks MUCH less then the copper as well, and that's another bonus for me, since I like my pieces to have some good chunk to them.  Here are two pieces, one in copper, one in bronze, that i used the same mold for.  You can see the shrinkage difference.
 
The Moon Baby Focal is done in bronze (and has a patina) and the single wing is made from the same mold, in copper. 


I prefer using molds for the bronze clay, since its sooo hard to get it to stick to itself, its very difficult to hand build things.  I often rivet  finished pieces that were molded, to copper backings or add them to polymer when finished to add more dimension and depth, because its hard to achieve with the base metal clays.  (my hat is off to those who successfully do add dimension, such as Lee Ann of Summer Studio's and her 3-d bronze beads, that is no easy task!)


Above are mine, and below are LeAnn's beads. 
 
Here are a couple places for information on bronze and copper clay.
So, for those of you who have been working with this medium, what was your most epic fail, or your greatest break through?  Do you have a favorite place to gather information on metal clay?

Saturday, December 17, 2011

guest post - marianne kasparian


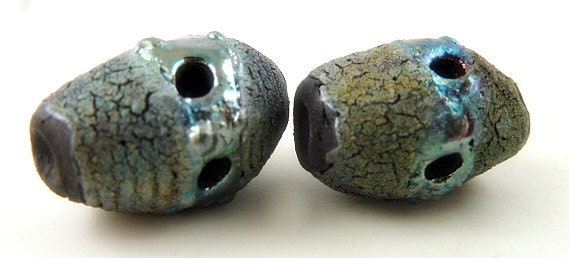
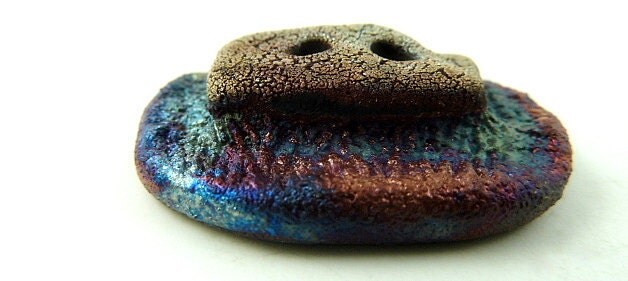
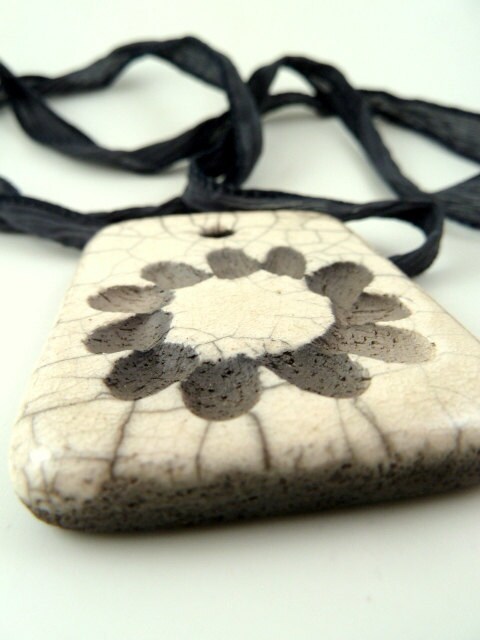
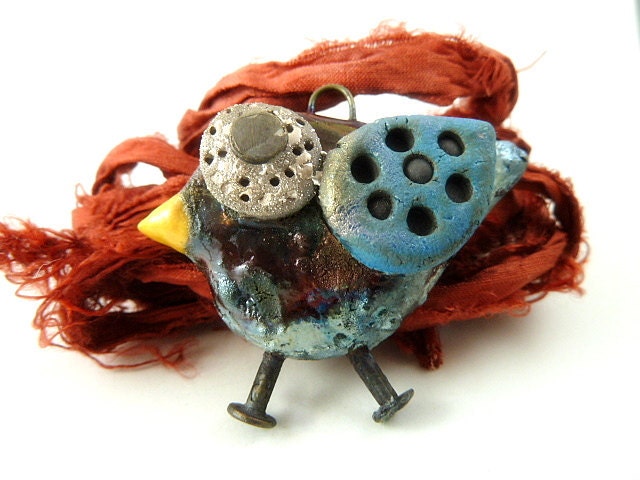
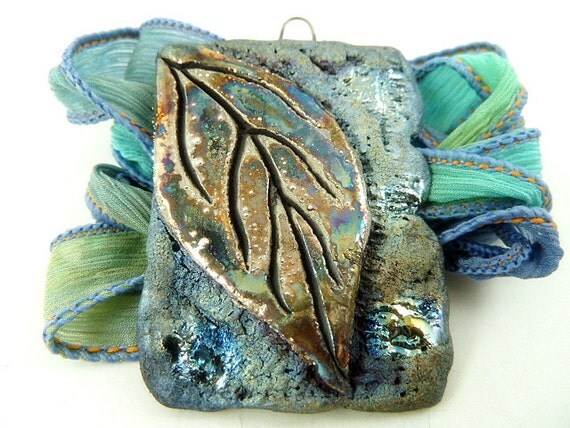
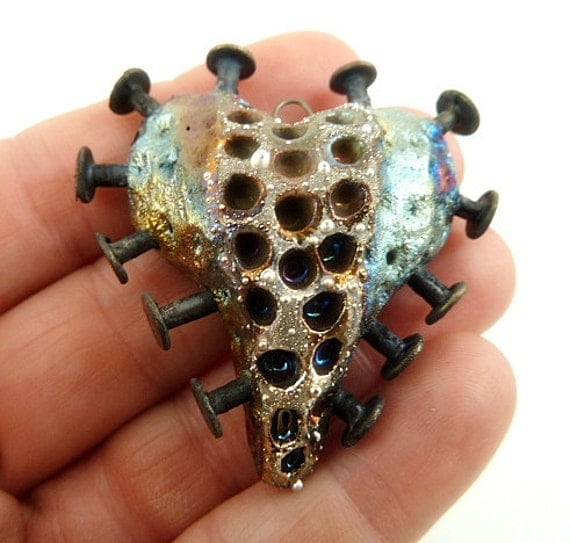
Hi there! I’m “Mak” (Marianne Kasparian) of MAKUstudio. I love raku and can truly say that I have found my passion. I remember getting a palm/psychic reading when I was younger and they told me that I wouldn’t find my career path until later in life…that I would try several things before finding the right one. I was perplexed at the time, but the wait was definitely worth it and my life experiences somehow brought me right to where I’m supposed to be. From three years of high school ceramics, design and color courses in college, a degree in Textile Marketing, taking metalsmithing after graduating when I decided I wanted to be a jeweler…to working at a bar that had 1000 beers, driving across country by myself and coming to a point in my life when I had to do much soul searching. These things all make me who I am today…a creative soul. I live to raku, and raku to live (in more ways than one). 


At all my shows, I ask my customers if they are familiar with raku. Of course, it depends on the show, but I’d say 8 out of 10 have never heard of it. So, I’d like to tell you a little bit about the firing process which I adore.


As far as the actual process of getting to my final product:
*first I create the pieces out of clay
*then let them dry and sand the pieces to make sure backs are smooth and there are no sharp protrusions of clay
*then I bisque fire them in an electric kiln to harden them and get them ready for glazing
*then I wash the pieces to get any clay dust off them so that the glazes look good on the final pieces
*then I glaze the pieces (this is the most time consuming!)
*then I raku fire the pieces in an outdoor kiln (which my husband and I built ourselves).


The raku firing involves a fast firing that goes to over 1800 degrees F (for the most part), then pulling the pieces out of the kiln while they are red hot using special gloves and tongs and placing them in a reduction chamber (small can) filled with organic materials such as newspaper, leaves or sawdust; the organic materials catch on fire and the lid is then placed on the can; the fire wants oxygen to keep going and pulls it out of the glazes themselves; smoke is created, creating the matte black look of raku wherever there is no glaze; the pieces are left in the can to cool, then removed and scrubbed clean of the ashes and voila! There are many variables which can affect the final outcome of the glaze including the weather (humidity, wind, rain, temperature), how large or small the reduction chamber is, how long I take to get from the kiln to the can, how much organic material I put in the can, what type of material is in the can, and many more. That’s why raku is truly one-of-a-kind!


I hope my creations bring you much inspiration…that is what truly inspires me.


----------------------------------------------------

you can learn more about marianne and purchase her work on
her etsy shop
her website
or her facebook page... 

thank you, marianne for sharing your work and process... 


face
Related Posts Plugin for WordPress, Blogger...