

by Staci Louise Smith
Last week I did a post on Doing it All (or NOT doing it all, actually ).
In last weeks post I touched on some ways I have been trying to make my time more efficient in the studio.
One of the ways I do this when making beads, is to make molds of them.
It is a great way to save yourself some time in the studio- and a way to preserve a design you were really happy with. Here is a post I did awhile back on how to use a two part silicone compound to make a mold of your polymer clay beads.
The only problem is, I never want to have too many beads that are too similar out there in the world. I want everyone to be able to make unique art with my beads, so the beads themselves need to be different.
I paint them each a million different ways, the colors are never the same twice. However, there are other ways to change it up too.
I have recently been making these awesome Gold Rush beads, with the gold crackle, and then carving them as well. The carving of each bead is immensely time consuming, and then you have the painting on top that too. I just could not make them fast enough.


So I decided to make a mold of them. I made blank white beads, and then after curing them, I carved the parts I wanted designed. Then I made molds. That gave me the carved design quickly. Then I was free to add my crackle and other embellishments to each one.
For example- here are some of the molds I made. You can see the shapes and carved pattern are the same, however, I have added elements such as crystals, and holes and other textures to make each one unique. They are painted different and the gold crackle on each is a little different.

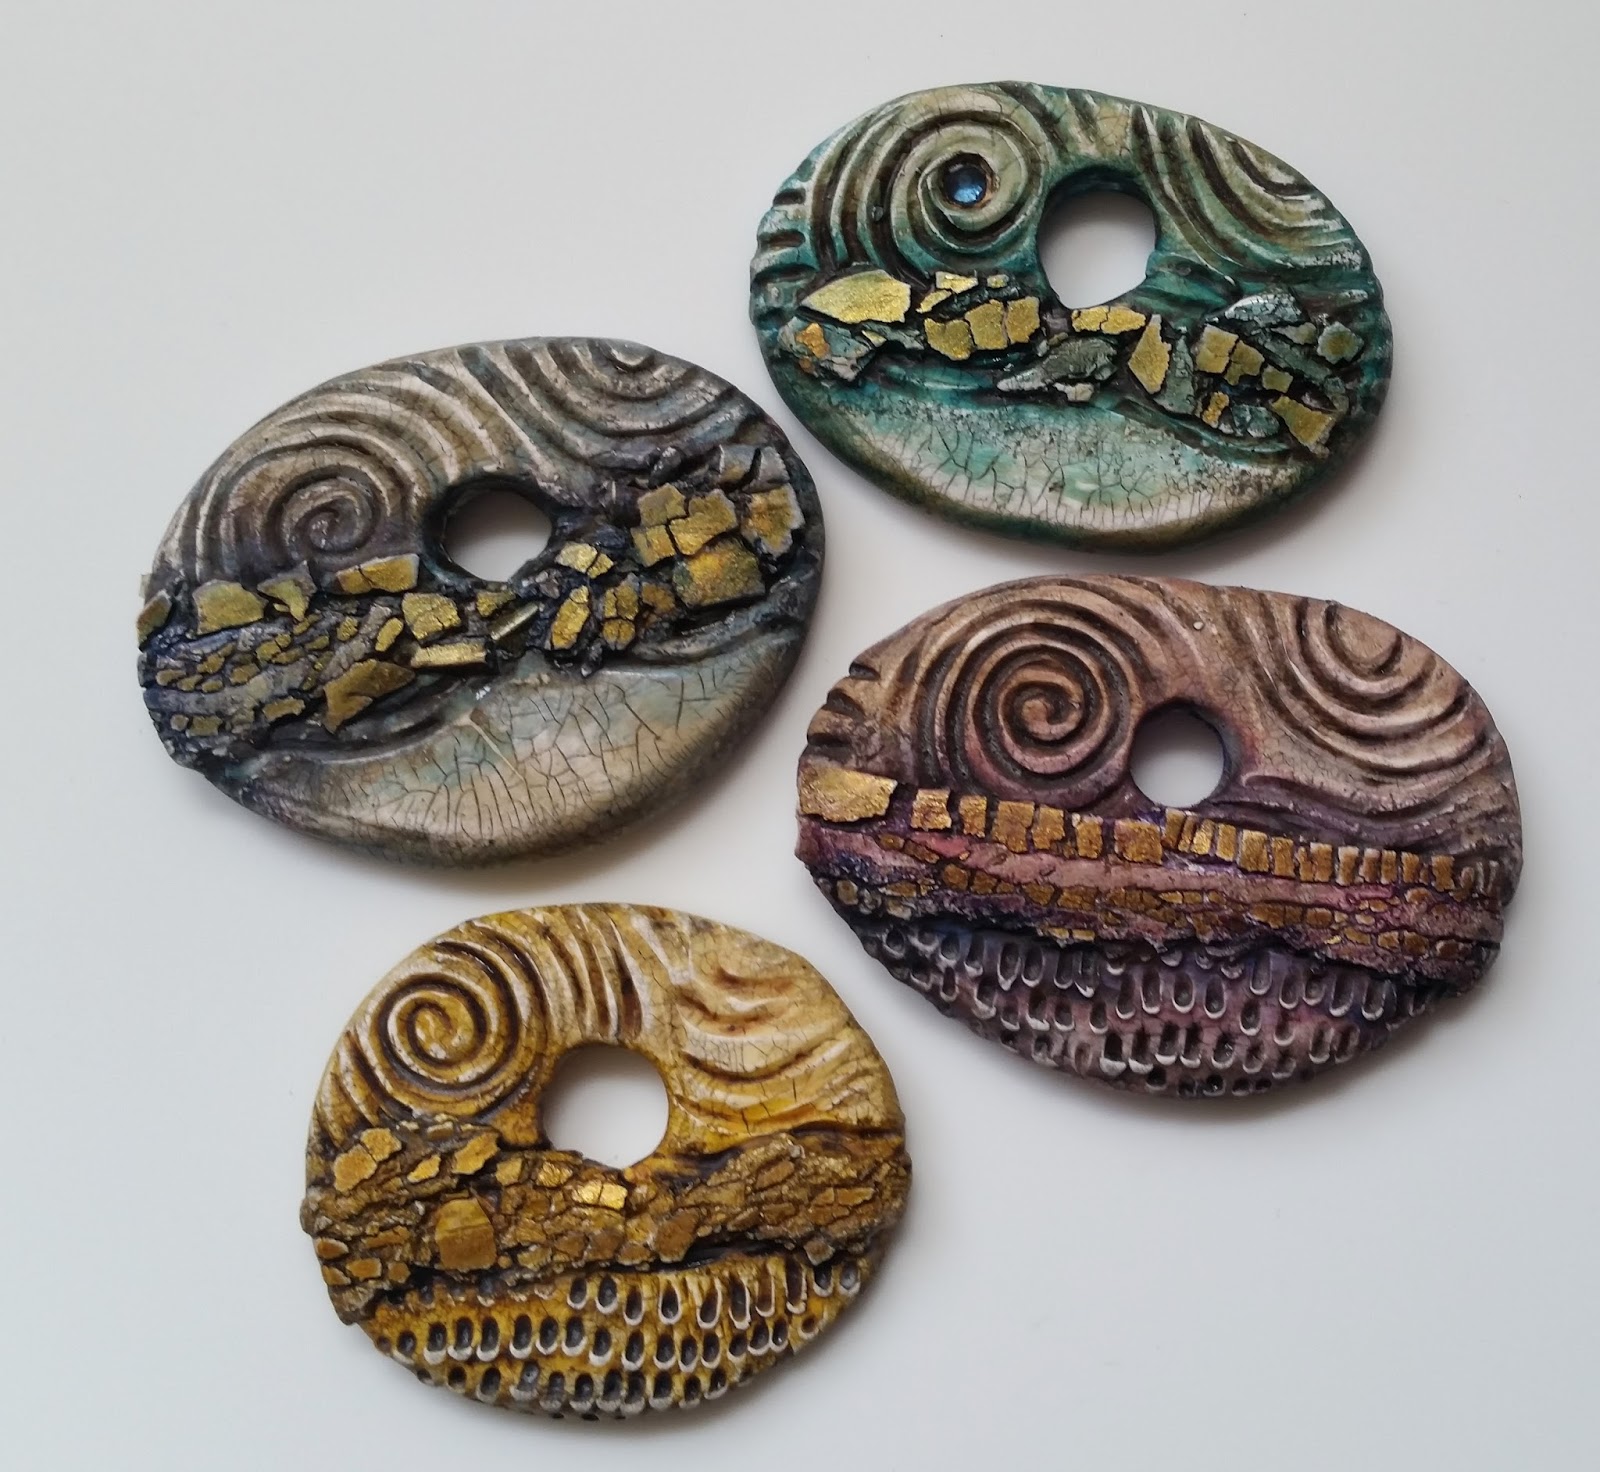
At first I felt a bit like a sell out not hand carving each one. However, I was quite happy with the results, and found it allowed more time for other details to be added!
Also, here is ONE fossil Ammonite (shown at the bottom of the picture) I use as a mold, and all the many different designs I make from it. The key here is to play, and try things a different way so you don't get stuck in a rut!!! I mean, you KNOW I love ammonites! So I am always trying to do them in a new and fun way.

So what is the take away here? Make a mold, re-create your favorite beads, but you don't have to stop there. Use your texture tools to add dots, or stripes or embed beads and crystals, layer them on top of patterned bases. Make each one unique anyhow!!! There is no limit to what you can do!
(Please note that you may not re-create MY beads.....the carved crackle beads are my design and not to be replicated, as well as the spins on the ammonites. These beads are not shown to be copied but merely as samples of what you can do to your own handmade beads to make them original while using a mold- THANK YOU for respecting that!)
Speaking of the Gold Rush technique and carving polymer, I can finally announce my two pieces got accepted into the Polymer category of the Bead Dreams Competition, which is held at the Bead and Button Show. Right now voting is open for the Peoples Choice award. If you are so inclined, you can vote up to 5x per day. You just need to create a login or login with Facebook. Here are links to my two pieces that are entered. If viewing all the pieces- the polymer ones are one page 6.
Sunset Gold Rush


Sunset Gold Rush
to vote for this one go here
and Zen Cairn

To vote for this one go here
Thank you for the support!


