
I have yet to meet (either in
person or virtually) any jewelry designer who is not a tool hoarder. I am one of them. But, I harbor no guilt for my obsession with
buying tools. My wardrobe (if you want
to call it that) consists of the same blue jeans/sweats/shorts – and t-shirts –
that I have worn for at least the past 10 years. I do not buy clothes – hate it actually. We also rarely go out to dinner - just not my cup of tea. I buy tools, instead.
If there is one thing I crave
when designing, it is texture, especially in the metals. So, I recently broke down and bought a new
rolling mill. I vacillated on which
model to buy and ended up with the mini version of the power house models.
 |
| Durston Mini-Mill 80 |
Once I bought the mill, I knew I had to bolt
it down to “something” – my bench is small and full – so I went to Home Depot and bought this little
$29 table made by Black and Decker. Though this is technically a portable work bench, once the mill was bolted down to the side I thought for sure that I was in
business.
 |
| Black and Decker Workmate Portable Bench |
 |
| My Rolling Mill Setup |
Well, just like finding the sweet spot
in the flame when soldering, there is a sweet spot in adjusting the rollers in
the mill – not tight enough, and the impression (if you even get one) is barely
there. Too tight, and it won’t roll. I had more mishaps than successes, but I was
able to finally get some decent imprints when I used 18 gauge copper vs. 22
gauge. In my various research I found
that the thicker sheet takes an impression much easier than thinner sheet. And of course, anneal the metal first, as
hard metal will not take an impression at all.
Here are a few pictures of my attempts that actually worked. Thank goodness I practiced on copper. This impression is still very faint to me, but, it's there, I promise!
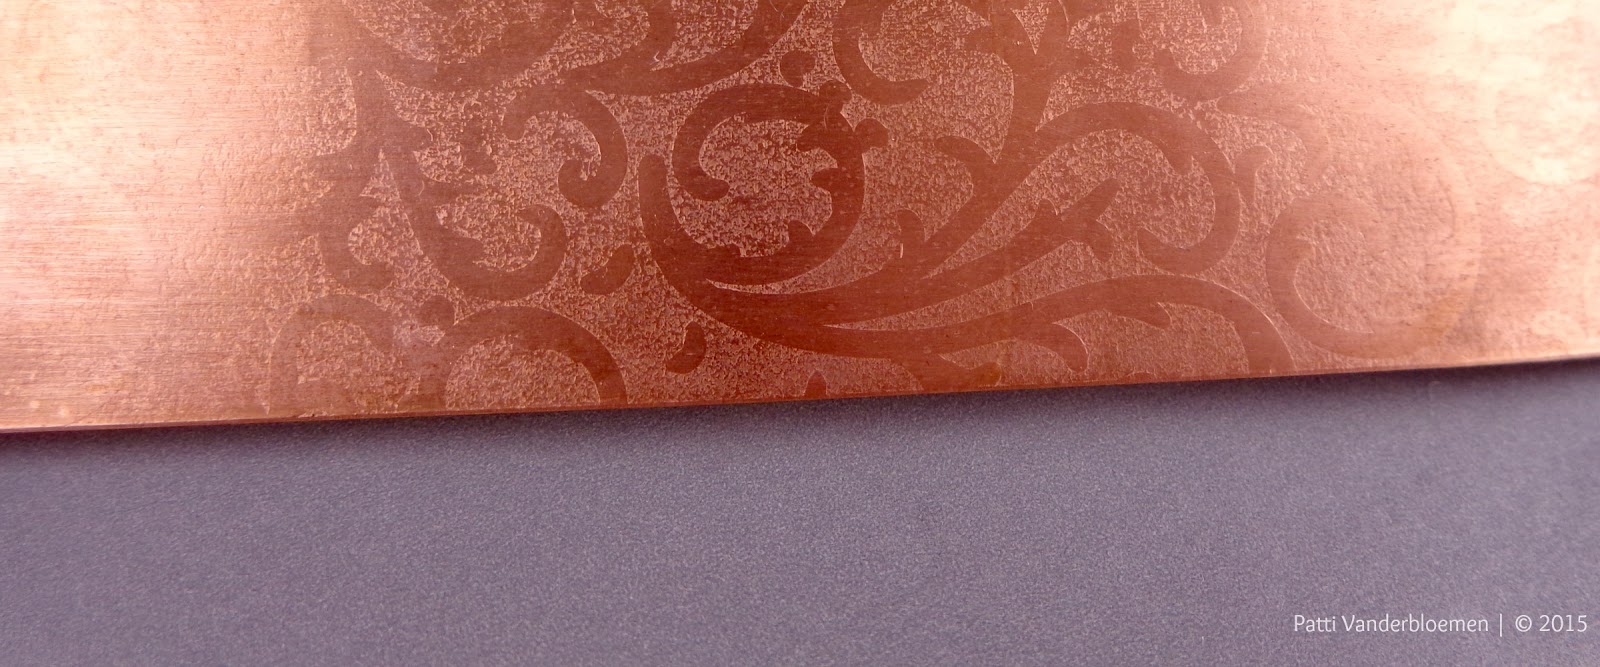
This next picture is not really texture - more like faint embossing. It would make a nice back plate for a pendant, perhaps.

This last picture is my favorite - I can actually feel the impression on the copper.

One of the tips I read said to wrap the copper and the whatever one is using for the template in a few layers of paper toweling - then roll the "sandwich" through the mill. Well, I have made several attempts with different pieces of lace, textured paper - nothing to show there, as the impression just did not take! I need more practice, for sure. But, I did manage to make a few toggles with the copper that DID take an impression.

I made two extras to Giveaway to one lucky winner. These are nice and sturdy - 18 gauge copper sheet, with a tube rivet, toggle, and extra jump rings - all antiqued, tumbled, buffed, and protected by a couple of layers of Renaissance Wax.


I made two extras to Giveaway to one lucky winner. These are nice and sturdy - 18 gauge copper sheet, with a tube rivet, toggle, and extra jump rings - all antiqued, tumbled, buffed, and protected by a couple of layers of Renaissance Wax.

To enter, simply leave a comment on this blog post. If you want an extra entry, share a link to THIS blog post on Face Book - but don't forget to come back here and leave a SEPARATE comment indicating that you shared!
I will choose a winner at my next posting - June 15th!
Thanks for dropping by!
Patti
I will choose a winner at my next posting - June 15th!
Thanks for dropping by!
Patti


