
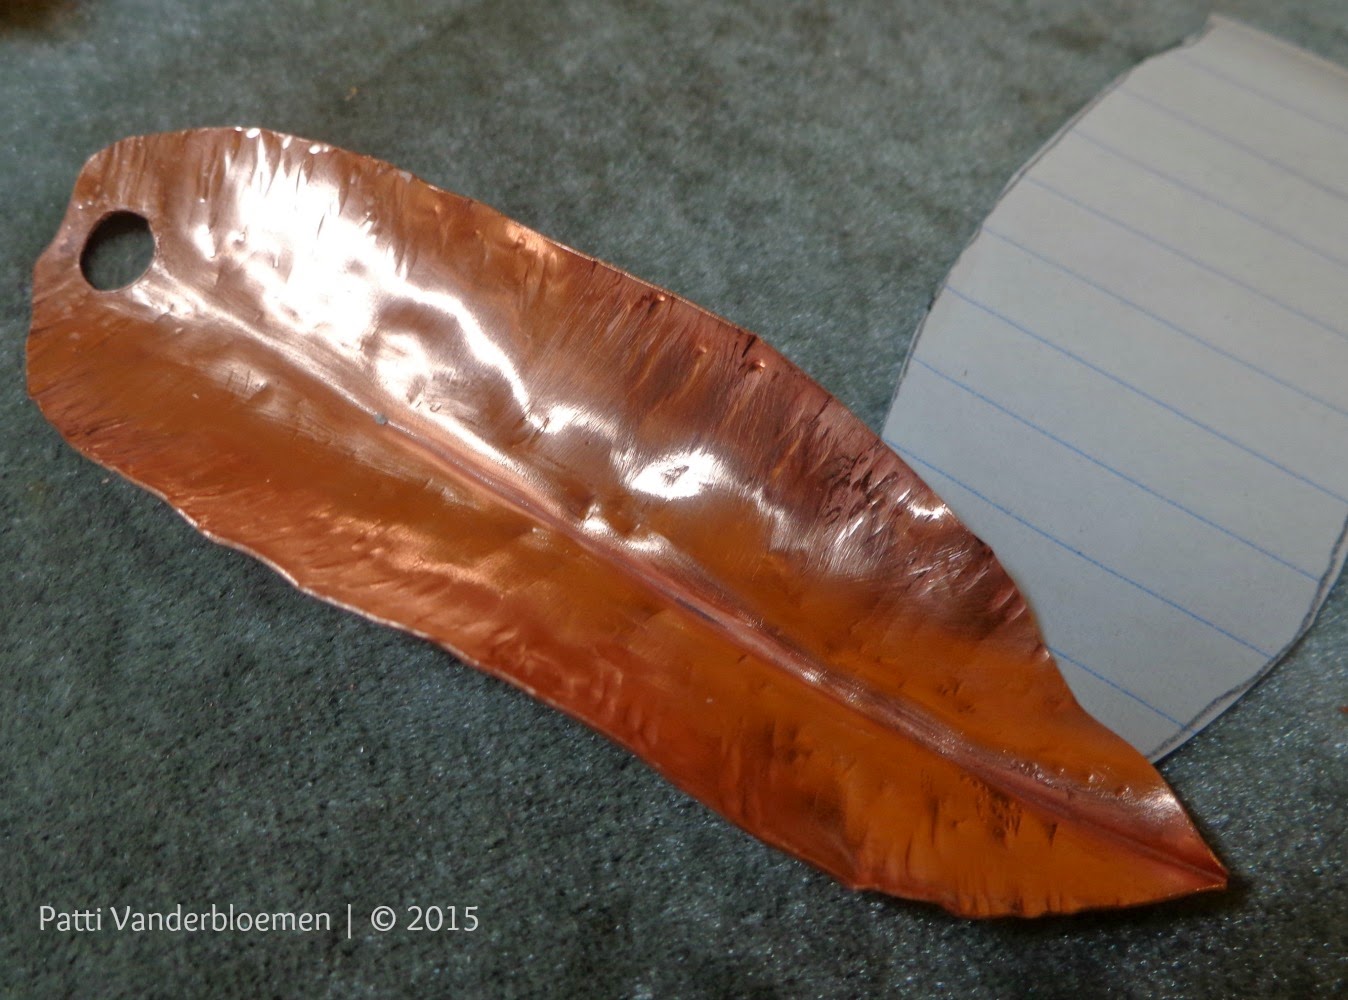
I had an idea to create a pair of hoop earrings from copper sheet.. I drew a rough sketch and cut out my shapes. This is when I realized the music in my studio must have been too loud (or my singing was too loud) ...3 1/2" length does not an earring make..but it would make a pendant.

After a quick fold form and texture, I decided to add tube rivets to the top of the pendant. I like a clean look to my metal, and tube rivets give me this look. I only recently learned how to make these rivets. While I am sure there are many tutorials or You-tube videos out there, I have made quite a few spinner rings, and I thought I would try the same basic technique to achieve the flare required.
DISCLAIMER: After I began this blog post, I decided to research "How to Make a Tube Rivet" via Google. After several hours spent on You-Tube and various other sites, I realized that there are specific tools for this technique - tools that I do not have. So, the technique below is how I make tube rivets using tools I on hand. This includes wearing a face mask (breathing in pieces of metal shards while drilling holes in my sheet metal is not my cup of tea) and eye protection.
First, I drilled a hole in my sheet. Now, the tubing used for the rivet (I used copper) should fit snugly through the hole in the pendant. I do not have drill bits as large as my copper tubing (I probably do in the garage, but that would have required me to actually go up the steps from my studio to get to the garage....no way!) I simply drilled a starter hole and used various sanding burs around the initial hole until the hole was big enough for the tubing.

As I got closer to the correct hole size, I switched to using a round and half round needle file around the edges to enlarge the hole.
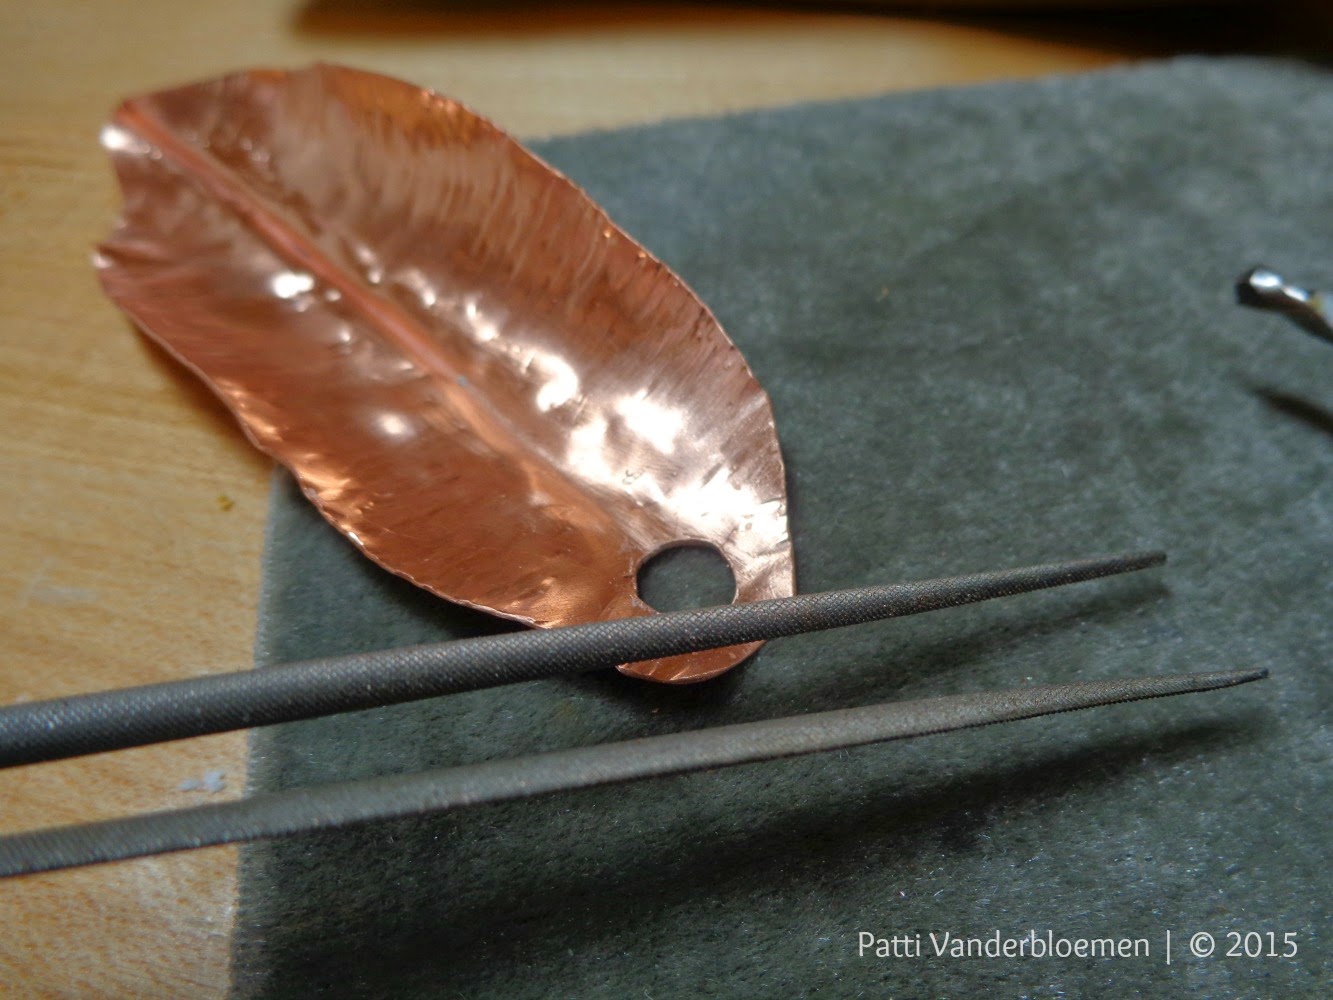
Success.
Next, insert the copper tubing through the hole until approximately 1.2 mm extends on the left side of the tubing (per the pic below) and make a mark with your sharpie approximately 1.2mm on the right side of the tubing.

The total length of this particular tube rivet is 2.4mm. The amount of tubing that will extend on either side of my pendant is roughly the thickness of my sharpie pen.

Cut the tubing with your saw. This is the tube cutting jig that I have had for several years (link here). Now, I cannot use the jig as illustrated on the box or the website. I mean really, hold the jig with your left hand and saw the tubing with my right hand while hoping the tubing does not slip. Ha! I unscrew the red handle and insert the jig in my vice. This way, I have my hands free - one hand for the saw, and one hand to hold the tubing.

Insert your cut tubing through the hole into the pendant, so that equal amounts of tubing are on either side of the hole (I apologize for the blurry picture!),

Now it needs to be flared. Just like a spinner ring, I turned to my dapping mandrels (this is the set I have here). Find a mandrel that is slightly larger than the tubing. Using a BRASS or other shop-type hammer (I NEVER use my good jeweler's hammers with my dapping tools or metal stamps - there is a potential for ruining the hammer face) gently tap once or twice - turn it over and gently tap once or twice again. Seriously - do not BANG but tap. I have tried banging, and it only ruins the tubing!

The idea here is to start the flare on the tubing. The picture below is after 2 taps on each side of the tubing. You will note it is not completely flared...yet.

Next, place the pendant on the steel bench block and use the ball peen side of your goldsmith hammer or an embossing hammer to gently tap the rivet flat. Again - one tap on one side, flip it over, and one tap on the other side. Repeat as necessary. In this example, that's a good size tube rivet, so my embossing hammer is a bit it bigger than my goldsmith hammer, and it and fits this particular sized rivet perfectly.


Ta da! I actually find tube rivets easier to set than a wire rivet.

I have one more tip for you today. I suffer from ocular rosacea and blepharitis - I have an awful time making tears so my eyes remain dry, burn, and sometimes, my vision is blurred. When I take the time to finish a pendant, such as above, and I want to add a jump ring as a bail, I like to solder that jump ring closed. Well, sometimes I have a hard time seeing the seam that needs to be soldered.

I just mark the seam with my sharpie

I pick solder my jump rings, so, once set up and hot enough, I know right where to place that tiny little ball of solder - and the sharpie mark burns away.

This method of cold connecting - still new to me - really yields a clean look.

I used some of Marsha's gorgeous silk in this necklace (link here), as well as a single artisan lampwork bead.

Just a few vintage resin beads on this one.


I used some of Marsha's gorgeous silk in this necklace (link here), as well as a single artisan lampwork bead.

Just a few vintage resin beads on this one.

But the tube rivets are not only be used for function - but aesthetically as well. For the earrings below, I soldered half of a sterling silver circle to a slightly larger half copper circle, and added 3 tube rivets.

My last example features both function and aesthetic.

This is actually a bracelet - the bangle portion is 6 gauge copper.

I hope you found information helpful - and if nothing else, encourages you to try new techniques with the tools you have on hand. I would love to hear your tips, too!!

My last example features both function and aesthetic.

This is actually a bracelet - the bangle portion is 6 gauge copper.

I hope you found information helpful - and if nothing else, encourages you to try new techniques with the tools you have on hand. I would love to hear your tips, too!!
7 comments:
Great job Patti! I have found that using a disc cutter punch (I think it is the 3rd from the smallest in most disc cutters) offers you the right sized hole for copper tubing that you purchase from the hardware store. And you can use a pipe cutter to cut the pipe too...makes it go a bit faster once you get the uniformity down! Love these ideas...tube rivets are the bomb-diggety!
what a great informative post. I have only used tube rivets in my scrapbooks (they are called eyelets there) and i dont think they give as nice a back side as the ones you made here.
Question . what is pick soldering?
thank you for your step by step instructions, safety tips, and alternate tool arrangement. your work is quite lovely! I thought it was really cute to go from earrings to a pendant. C'est la vie
Thanks Deb - and thanks for the tip about the disc cutter, Stacie!
Pick soldering is simply when you heat your soldering pick, ball up your solder pallion, pick up that little ball with your pick (once the solder and pick are heated, the solder will stick to it), and then set it on top of your seam - or wherever you want the solder to flow.
Awesome, Patti! Using copper tubing is my "go to" for everything. I never thought to use the dapping things (memory glitch), but I will use them now! I am heading out today to get more tubing since yesterday I realized I am almost out! What a great little tutorial..... Love the sharpie idea too~ I wear a big magnifying head piece (like a doctor only plastic and much cheaper!) to see. I've become dependent on them.
I have a difficult time with rivets. Yours look like you have been doing it forever. Well done! I think that tube cutter is just what I need! Thanks for all the tips!
Muchas muchas gracias por tu información. ha sido de gran ayuda para mí.
Machita, Chile
Thanks a lot for sharing your knoledges. It has been helpfull for me
Post a Comment