 |
| MaryAnn Carroll |
So..... you're looking for something a little different and really don't want to spend a ton of money while you take care of your experimenting desires..... I've got the a great way to accomplish that longing need that you've bottled up for so long. All you have to buy is a fairly inexpensive torch that can be purchased at Lowes or Home Depot. It will be somewhere around 30-40 bucks. Not bad! You will use it over and over and over. You will also need a little water (keep it cold with ice), some copper components/beads/disks, polishing pads, mandrels and some Renaissance wax. That might go for around $20, but it will last a lifetime..... if used in moderation that is ;o) and it will depend on how long you live......
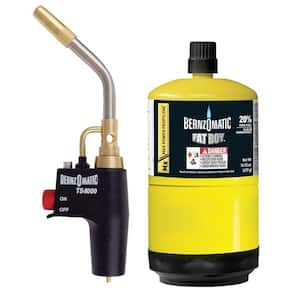
I found my torch at Lowes. Use tall narrow cans when replacing canister (not required, but recommended - by me).
I found the pads and copper blanks on Etsy......
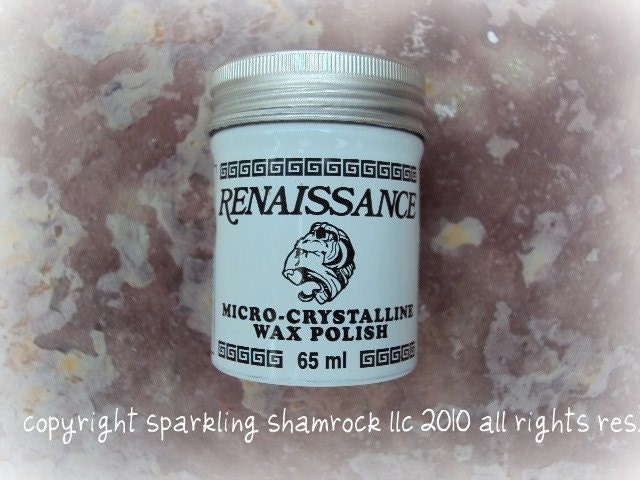
I found the wax on Etsy...
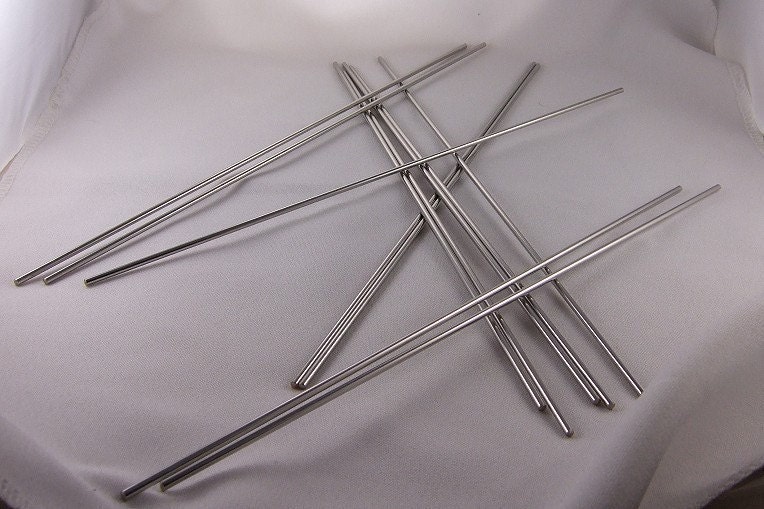
I found the mandrels on Etsy....
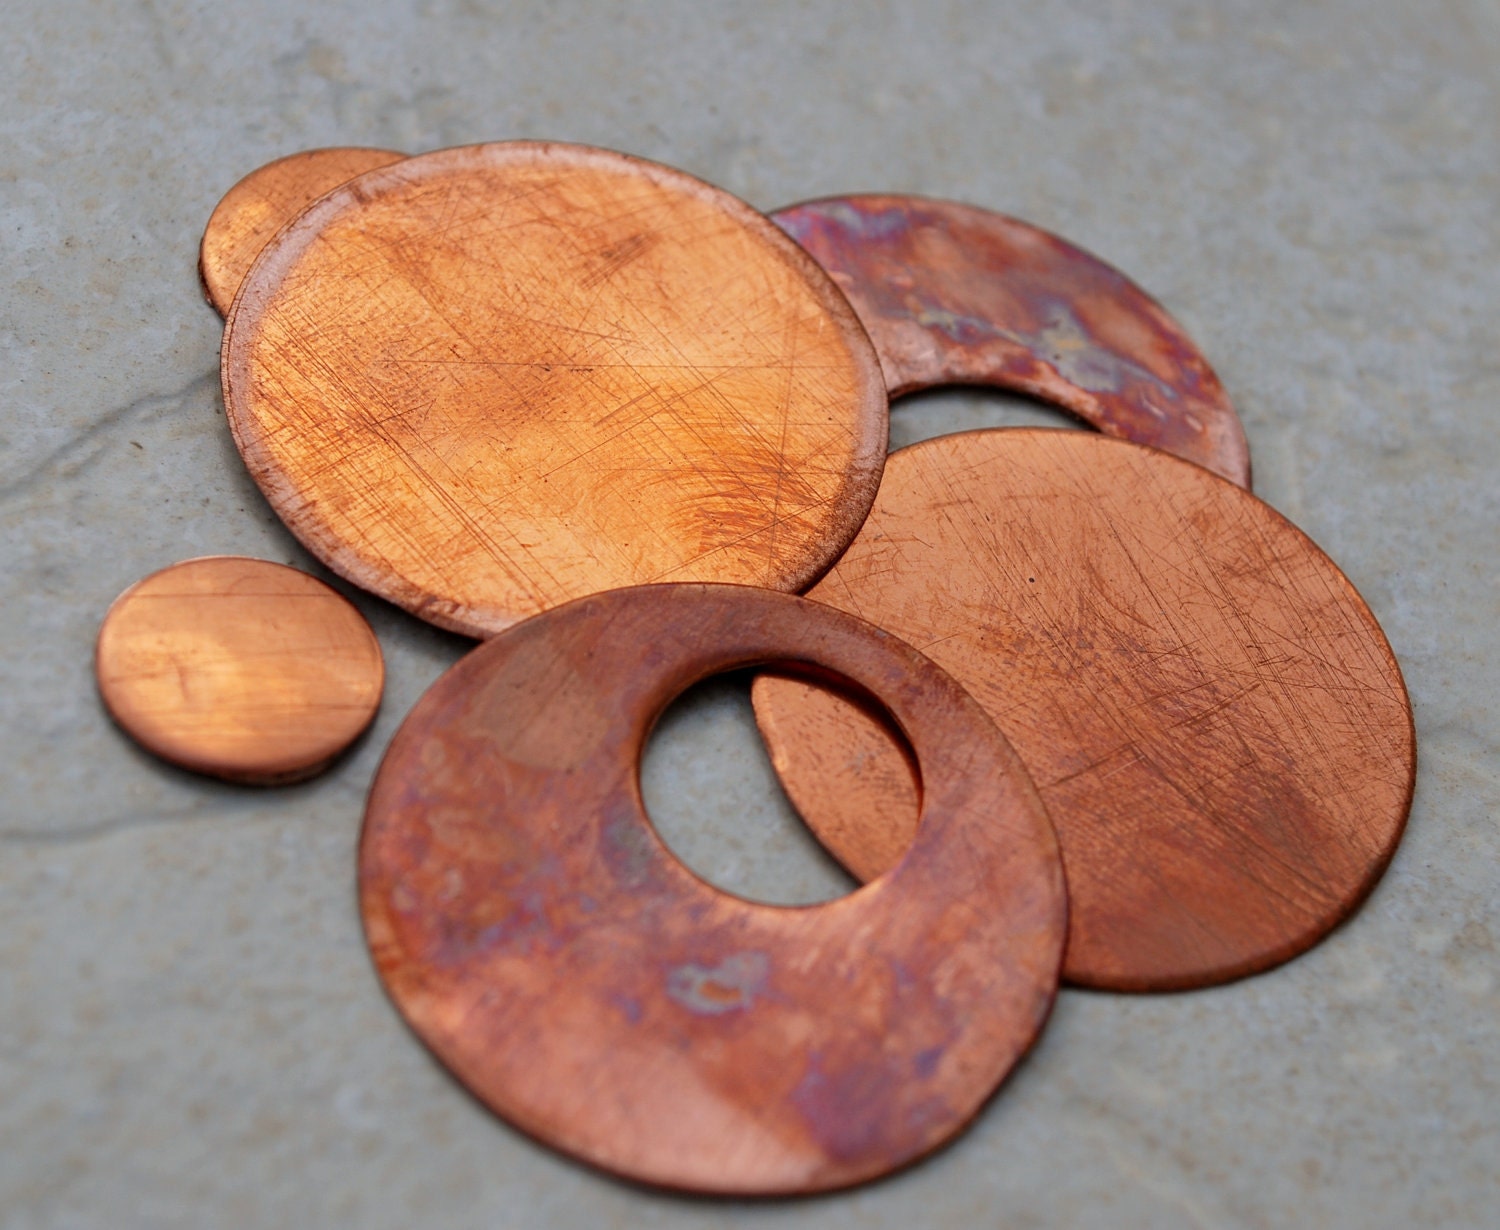
And, here is what you get.... colors will vary based on temperature of flame, water, wait time before submerging, etc. Quenching the copper in water will provide certain results. You can use the heat without water to achieve many different colors also. Often times, you can call around for welding companies and even junk yards to purchase copper scraps that you can use to practice on (or get some great pieces that are not for practice). I just recently read that you can cut up welding rods to make your own mandrels. I will be looking into that today.
So.... What do you do?
Heat the copper until orange hot.
Have your water ready. Once you get the piece orange (or in my case, I sometimes get it beyond orange) simply dip it in the water. Results on disks will vary on either side.
These disks were heated (and semi-melted) many times. Once you achieve the result you want, dry them, buff them with the pad and apply a very thin coat of wax to help preserve the finish.
These were heated one time. You can see the difference from an original copper bead.
Results will vary depending on many factors (type of metal, water, heat and air temperature, etc).
These hearts actually are more blue that what I could capture in the picture.
Be careful with chain. It can melt fairly quickly making it less of a chain and more of a cluster of links fused together......not cool! As usual, I learned that the hard way.
Once you find that you totally L-O-V-E playing with fire, you can then purchase a few enamels to experiment a little further...... I tend to over-fire since I am totally into a unique look.....
This first set was not over-fired, however.
These were...... (same enamel)
So, to sum it up..... You can be very creative for a small amount of money. To replace the propane runs anywhere from $8 to $10 currently. Not bad and it goes a long way! Be sure to buy two so that you have one on hand at all times.
and..... As always,
Thank-you for supporting those who create handmade with handmade.....
MaryAnn



8 comments:
wonderful article and thank you for the links :)
Great tutorial, thanks for sharing! I took a class with Eva Sherman at Bead Fest, Textured Copper Cuffs, and this compliments what I learned. I'll be bookmarking this!
It looks like fun! I am a wimp around fire...maybe I'll try it on a brave day :)
Happy you liked it :o)
Julie..... you gotta get over the fire thing..... you will LOVE what you can do with a torch.... :o)
MAC- not onl;y very creative it also is a lot of fun; and you are right creating using ordinary tools and recycling puts it within reach of lots of folk. Thanks for sharing. B
Great post MaryAnn, thank you. So propane not the map gas? For enamels too.
Theresa
Good question....
I use MAP gas. Thanks for asking that :o)
MaryAnn
Can you only use certain metals to hold the item you are torching. What keeps that mandrel from heating up and burning your fingers?
Post a Comment