Showing posts with label handmade beads. Show all posts

Monday, June 20, 2016

Hardware Store Finds


Right about this time last year, Karen shared a great post/tutorial on using copper tubing in jewelry (here is the link). I vividly remember reading the post and dashing out the door to Home Depot to pick up some tubing of my own. While sitting at my bench the other day, I turned my head and realized I still had quite a bit of tubing left over...begging to be used in something new.

So, I set out to make some Big Hole Beads. Many artists use these beads with leather and thick cording, but I had other ideas. Here is a quick synopsis via photos of how I made the beads.

I used 1/4" copper tubing, found at Home Depot.


I wanted to try dapping the ends of the tubing, so I did not want the beads to be too big (long).  I used my $7.00 tube cutter, also from Home Depot, to cut the tubing to length.


This "bead" is about 3/8" long. Now, when a tube cutter is used, the cut portion is not perfectly flat.


So, a couple of swipes with my flat file was in order.


Anneal the bead until red hot. I was going to attempt to add texture to the bead AND dap the ends, so I knew that I would have to anneal the metal several times. I let the red-hot copper air-cool instead of immediately quenching in water. Multiple annealing and quenching can make the metal brittle. Don't ask me how I know this....


To add texture, I slipped the bead on a thin center punch that I have sitting on my bench. A regular old nail would work, as well, Anything round and metal will work (my dapping punches were too thick). By slipping the bead onto a round metal "mandrel", it helps it maintain its round shape when adding texture. I just used the edge of my riveting hammer for this example.


If the bead becomes out of round from texturing, just anneal, air-cool, and slip it back on your round mandrel of choice. I had my plastic hammer ready - but just putting the softened/annealed bead on the mandrel and squeezing it down put the bead back in the round. A nail would have been perfect here, as my center punch is tapered, so I had to keep flipping the bead  - just like when forming a ring on a ring mandrel.


To form a little anticlastic curve on either end of the bead, I simply found a dapping punch approximately the same size as the hole in the bead and gave it a few GENTLE whacks on my bench block (turn the bead often and be gentle with the hammer)!


I rather like this organic shape - slightly wonky but still round. Kinda rustic.


My intent is to use the Large Hole Beads on a bangle, as seen below (not yet polished or antiqued).


There are endless possibilities for adorning these little beads. The bead below was not dapped/ curved.  Instead, I very carefully melted some silver scrap into a granule, flattened it with my hammer, sweat soldered a tiny pallet of solder, let it cool, FLATTEN AGAIN with the hammer, and soldered it to the bead.


The "first" bead I made - simply textured and dapped the ends.


I had some silver tubing on hand as well.


For the bead below, I dapped (no texture) the copper bead, soldered (I used paste solder here) just the end of a length of  flattened 22 gauge sterling wire, cooled, "messy wrapped" around the bead, drew a ball on the end of the wire in my flame, and soldered the end down to the rest of the "messy" wrap.


If you use these beads for bangles, remember to slip the bead onto the bangle before you solder the bangle closed.  :)


I actually drool when I mix my metals - love the look!


Ta Da!

Only 45 more feet of copper tubing left to use up!  :) :) 

I hope you found this inspiring! Thanks for stopping by!

xo

Patti

Monday, September 21, 2015

Hollow Metal Beads - A Tutorial and a Giveaway!


Today, I thought I would share my technique for making hollow metal beads. I have seen tutorials for making these before, but I am including a couple of tips that help me.  In the past, I have made these in both sterling silver and copper - today's images illustrate sterling.

(As always, please be safe and wear the appropriate eye protection and a mask, as well).

The first step is to texture your metal. I like to use 20 gauge sheet.  Once the sheet is cut into discs, the metal will then be dapped.  As you hammer while dapping, the metal spreads, thus the texture will not be quite as deep in the metal as when you began.  So, I start with a heavier gauge metal and texture deeply - the example below illustrates a texture I made using the flat edge of my riveting hammer.  


The size of the beads is totally up to the maker. In the example, I am using a fairly small punch and the discs measure 9.5mm. I always place a piece of scrap metal - same gauge as my work- opposite from the hole I am cutting.  This extra step should make my disc cutter last longer.


Once all the discs have been cut, I then anneal the metal, quench in water, and pickle.


The edges from the disc cutter can be abrasive. I take a second and run a sanding pad around the edges to smooth out the roughness. These pads last a long time, and I use them daily (link here).  

When doming each disc, I use my brass hammer and usually dome 3 sizes down, starting with the largest dapping depression, down to the smallest size.  It is a personal preference how "puffy" a shape you want for your final hollow bead.


I then take my mini round needle file and make a slight impression on only 1 of the 2 discs.  I have 2 reasons for doing this: 1) I use silver solder paste, and this impression/hole provides an escape for the pressurized air when soldering; and, 2) it also makes drilling the hole in the final bead slightly easier.


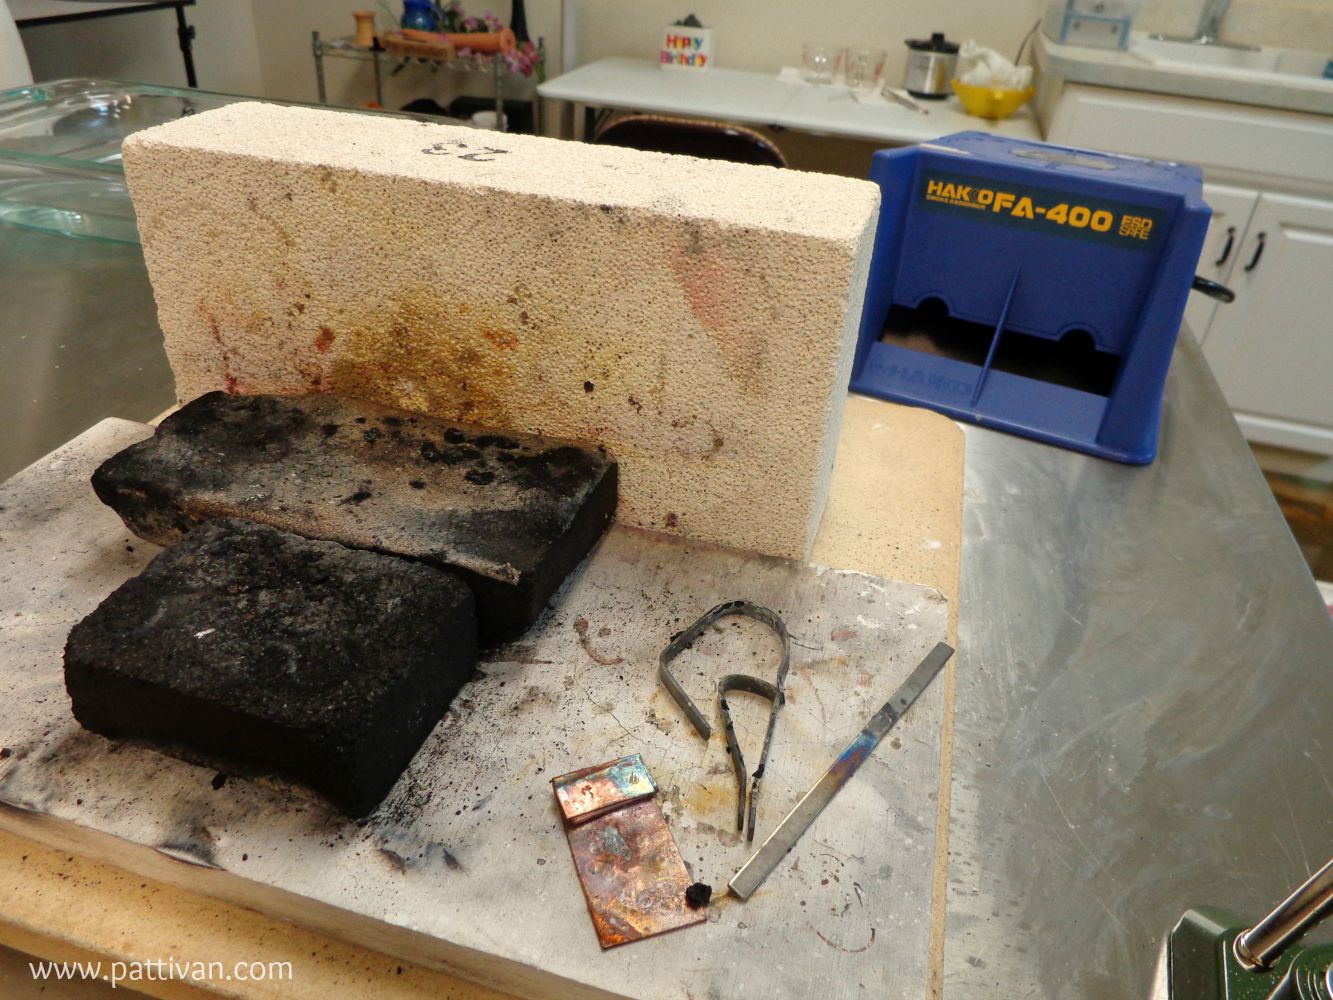
This is one of my soldering stations.  I have mentioned in the past that I only use a butane torch (this one).  But, I set my fire brick (or an additional hard charcoal block) on it's side.  I then set my item to be soldered on the charcoal block - right next to the fire brick.  The heat generated from my torch bounces off the fire brick back to the item being soldered. This setup provides me with enough heat to solder 6 gauge wire with a butane torch (it takes a while, but it can be done)!


I add silver solder paste to the inside one of the domed discs. Remember - no flux is required with paste and Yes - using solder paste is messy! 


I add the second domed disc, and set it on the charcoal block next to the fire brick.  The solder paste binder will burn away (evidenced by the flame you will get when you hit this with the torch)!  When applying the heat with the torch, fan the area around the bead with the flame first, just to heat it up, then aim the flame at the bead. Watch carefully while torching - you will see a very thin line of silver - that's the key to knowing that the solder has flowed. It does not take long with the torch.  Wait about 20 seconds, quench in water, then pickle.


Drilling the holes is the most challenging part of this process.  Remember the impression I made on one side of the disc? Well, I put the bead in my ring clamp (link here) for support (a vice would probably work here also .... but that would require me to move across the room to my vice) and I swipe the same round needle file over the bead to create a rounded-flat spot (I know...my wording here is bad)!  This flat spot is where I will drill the first hole. 

With my left hand, I brace the ring clamp against my bench pin for support and drill with my flex shaft in my right hand. I will admit - that drill bit will want to bounce.  But, by bracing the ring holder in my bench pin, and my right hand with the flex shaft braced against my bench, it is do-able, I promise!


This is 20 gauge sheet - slightly on the heavy side - so the drilling will take a bit to get through the metal. I am HUGE proponent of lubricating my drill bits - I use this.  


Once the hole is drilled, I mark the other side with a sharpie (I just eyeball this mark) and repeat the steps above for drilling the second hole.

Next comes finish - and this is simply how I finish my beads. I prefer to smooth the solder seam as much as possible.  The image below (click to zoom) are the silicone and fiber discs that I use the most (all available from Rio Grande). The pumice disc (the green discs, bottom left of the picture) are truly the most used discs for this purpose.  The pumice can even be used around gemstones when cleaning up bezels - it is safe and will not scratch!  I simply place the bead back in the ring clamp and go through a series of buffing, starting with the pumice, and usually ending with the green 3M Bristle Disc silicon wheel (the grit is slight - only 1 micron). 


Ready for the tumbler!

After tumbling (no patina, yet)!


These beads look so beautiful with patina added.  Well, my mother has been begging for some earrings made with these beads - sans patina. She also prefers post earrings, so, she was quite happy to receive these!


Just two beads add a nice design element to a bracelet, I think.

Lampwork by Susan Kennedy of Sue Beads
The hollow beads below are 3/4" round.
Lampwork by Judith Billig)
The next two images feature 3 beads from the batch above - with patina - and gorgeous artisan lampwork work nuggets by GlassBeadArt.


The Giveaway
Okay - you have lasted this long...want to win these 2 hollow beads? I have already added the patina, buffed and tumbled.


Just leave a comment on this blog post - please make sure to leave your email address so that I can get in touch with the winner!  Winner will be announced by my next posting!

Thanks for joining us today - go make something wonderful!

xo
Patti

Thursday, August 13, 2015

Bud Vases as Needle Holders at Bead Fest Philadelphia

In just a week I will be arriving at Bead Fest in Philadelphia to get my artist table set up.
This is the first time in 6 years I have done this show myself.

Marsha Neal Studio Artist Booth 570A Bead Fest Philly Aug 21-23, 2015
My friend Darlene of D7Studio
(booth 366) has been taking my bead work with her to bead shows here in the north east US since I stopped doing shows. And I feel that at least for Bead Fest (and Bead & Button) it is time for me to reconnect in a physical presence way with my friends and customers.

Darlene will still have the majority of my "bead" work at her booth 366 with all kinds of cool jewelry supplies and other artists work (Nolly from Nolly's Folly).

My artist table 570A will focus more on my bracelet kits, sculptural beads, vessels and small terrarium pieces. And I am right with Staci, Diane, and Nikki - it is going to be such a fun creative area (all of the show will be - but especially the area where the artists are!)


So for those of you that do work with any kind of crafting needle - you should swing by and get one of my small vessels. They were originally intended to be used as bud vases for teeny flowers (my little kids like to pick flowers for me - but usually they don't have much of a stem) but they sweat water, so they are now only for "dry use".


Here is a quick shot of the various stages of me making these small vessels. I use my own bisqued clay texture plates that I made with flowers and seed pods from my garden. The clay is cut to a general size, and is rolled into the plate to get the reverse image. I have to work quick to not have cracked walls, as these are not large pieces of clay. 


Here they are drying out on a piece of drywall scrap after being made (the drywall helps absorb the moisture from the clay and helps avoid stress drying cracks).

The bottoms are kept a bit thicker to allow the piece to stay upright while in use.


And one of my favorite parts of figuring out the design of these is allowing the bottom of the piece to come up around the sides and create this organic line and bevel. The line collects the glaze during the firing and allows for puddling. The bevel conveys a sense of the piece being lighter.


And above you can see the dried seed pod from a newer plant (Begonia) that I used to press into the clay a couple of years ago. Makes me want to start to make some new plates with the growing season coming to an end in a couple of months. My favorite time of the year to collect!

And if you are attending Bead Fest Philadelphia August 2015 copy and print this $5 weekend admission pass! The regular fee I believe is $14 for the weekend pass (free if you are taking classes).

Hope to see you there!
face
Related Posts Plugin for WordPress, Blogger...