Showing posts with label flexshaft. Show all posts

Wednesday, June 15, 2016

DIY clay cutter tutorial-REVAMPED

Carol Dekle-Foss
Last year I did a tutorial on how to make your own clay cutters here. After working with them for awhile, I realized I needed to make a few changes. I thought I would share how I made a better clay cutter that will not come unglued, doesn't lose its shape and has a cool handle!
(greenware porcelain pendants)
What you will need:

24 gauge sheet metal (Stronger than 28 gauge. Also, I used brass instead of copper)
File 
Thread
Metal scoring tool (I used a divider)
Sharpie
Ruler
Metal shears
Cratex knife edge wheel
400 grit sandpaper
Split mandrel
Pliers
Shape pattern
Torch
Solder
Handy flux
soldering pick
Mandrels

The first few steps are the same as the original tutorial, but with a few updates.

STEP ONE
Measure the length of your stamp with a string. Cut the string about 1/4" to 1/2" longer to allow overlap of the metal.

STEP TWO
Mark the length with a sharpie. I made my cutter deeper this time, about 3/8".
If you have a straight edge on your metal, you can use a divider to run along the edge to score your metal. 


If not, you will have to measure and mark the depth and use a ruler as a guide for scoring your metal.
STEP THREE


Cut your metal with metal shears, or a throatless sheer, and then hammer to flatten. I would anneal your metal after hammering if you have an intricate cutter design.


                                                                                                                                      STEP FOUR
This step requires a bit of finesse to get the shape just right. 

Using different mandrels and pliers, shape your design.

I used flat-round nose pliers. My new favorite tool!
Keep forming until you have the right shape.

Flat nose pliers work great for sharp corners.


STEP FIVE
 The previous cutters came undone a few times, and I had to reglue. Forget that, let's solder this one instead! I used my go to medium solder, but you can use easy or hard if you like.

Oops, fail. Don't be like me and cut your metal shorter so there is not much to solder, about 1/4". I just resoldered and closed the gap. 

I then formed a piece of metal and soldered on a little handle! This will make it soo much easier to lift after stamping.
Perfect! Now time to clean up all sharp edges.

STEP SIX
The next step is important. File the inside edge where the metal comes together so there is no line when stamping the clay.

 If you like, you can use an abrasive wheel to remove firescale and soften the edges of the handle. I used a knife edge cratex wheel. Also, if your clay cutter doesn't sit flush, run it in a figure eight motion over sandpaper, turning every once in awhile so it sands evenly.
With a split mandrel and 400 grit sandpaper, I cleaned up file marks and created a satin finish over the whole cutter.
 This cutter is much more sturdy and can withstand my abuse! Most importantly, every piece I stamp will have a uniform shape.

I use olive oil as a release agent. It works okay, but if you use something better and would like to share, please let me know in the comments!

Thank you for reading,
Carol Dekle-Foss
Terra Rustica Design

Wednesday, June 17, 2015

Clever way to make jump rings

Carol Dekle-Foss
I recently came across this tutorial on how to make jump rings by the extremely talented Joy Kruse. I call her technique the jump ring making hack! Very clever. Joy has mad jewelry skills!  If you haven't ran into her designs yet, here is some of her recent work. 


Her work is AMazing. Joy also teaches, so if you live near Wisconsin I would definitely check out one of her classes. I wish I could! Here is her teaching schedule.

I was very interested in trying Joy's technique, so I did a bit of research on the coil holder and ended up buying Kevin's 12 inch Koil Cutter base over at Potter's USA. He also sells a Koil Cutter Kit. I'm kicking myself for not getting that instead. He offers the arbor and blade separately, so I may purchase those later to have on hand

Okay, to try Joy's technique, I first made a copper coil using my drill. 

I then annealed and pickled the coil like she suggested, which really helped the cutting process go faster.

Joy recommends using cut off wheels, like these at Home Depot. I didn't have any, so to cut my jump rings, I used the above diamond cut off wheel that I had on hand.  


All in all, I would call it a success! It took getting used to but I was able to cut quite a few jump rings using Joy's technique.

I love being able to make tons of jump rings, and have started a little jump ring container with various metals and sizes. 

DISCLAIMER: If you are just learning the flex shaft or if you feel more comfortable with the blade guide, I would get the whole kit. Also, it might be a good idea to first try out the arbor and blade to get the hang of the process. Please use all safety precautions when using flex shaft, put hair up, no hanging jewelry, and don't forget to wear safety goggles! 

Thank you so much Joy for letting me share your clever technique! 

I wanted to add that we have officially opened our ceramic shop! To celebrate we are offering 20% off through the June 19th. 

Thank you for reading!

Wednesday, December 3, 2014

Creative way to polish metal

Carol Dekle-Foss
When I first started making jewelry, I fell in love with the versatility of the Pro-Polishing pads. These pads were my go to for all my polishing needs. I have now learned many different techniques to finish metal, but still use these guys in many different ways. 

Recently in the studio, I had just given these bracelets a nice liver of sulfur bath.  I then set about the task to remove the oxidation and expose the hammered marks.
I could have easily used the pads by hand, thrown the bracelets in the tumbler, or some other technique, but I had another one of my 'huh, what if  I try this' moments.

Try this technique for yourself. It's fun and super easy!

What you will need:
Flex-Shaft or Dremel tool

Please use all safety precautions when using these products. Safety glasses, mask, gloves if you don't want dirty hands, and if you have long hair, tie it back so it doesn't get caught up in the mandrel.

The Technique

This is a great way to utilize those half used or almost used up pads! I usually end up with these all over the studio.

First, cut the 2"x 2" squares into 4 pieces.

Place your slotted mandrel in your flex shaft or Dremel. Now slide the polishing pad into the mandrel. I had to widen mine a bit with a screw driver so it fit snugly.

Some of my latest creations, right out of a liver of sulfur bath and completely dry.

Here, I am removing the oxidation from the back of a sterling silver pendant.
Please disregard my dirty hands and tattered fingernails.

In the below pic, I am polishing a handmade sterling silver link bracelet wrapped around a wooden mandrel. THIS is a very dangerous technique. You have to be very careful and hold the chain real tight so it doesn't come up and smack you in the face or worse, tangle in your finger. Ouch.

With smaller, more delicate chain, I just run it through a larger pad a few times. 

One of the downside with the pads is they tend to tear if caught up on sharp edges, and then get a gummy mess all over your jewelry. So for the earrings, I used a larger pad by hand. It just depends on what you are polishing as to what technique is best. If you want to remove less of the oxidation, all you have to do is use a lighter touch with the mandrel. 

After removing the desired amount of oxidation, I will then take a jewelry polishing cloth to shine up the metal a bit more.

Try this technique yourself! You will be surprised at how fast you can remove the oxidation and polish your jewelry.

Here are the finished pieces.
I recently added these pieces to my website, and extended my holiday sale through to Friday. Use coupon code Holiday to receive a 20% discount!

Happy Holidays everyone!

Wednesday, July 2, 2014

Finishing Techniques tutorial!

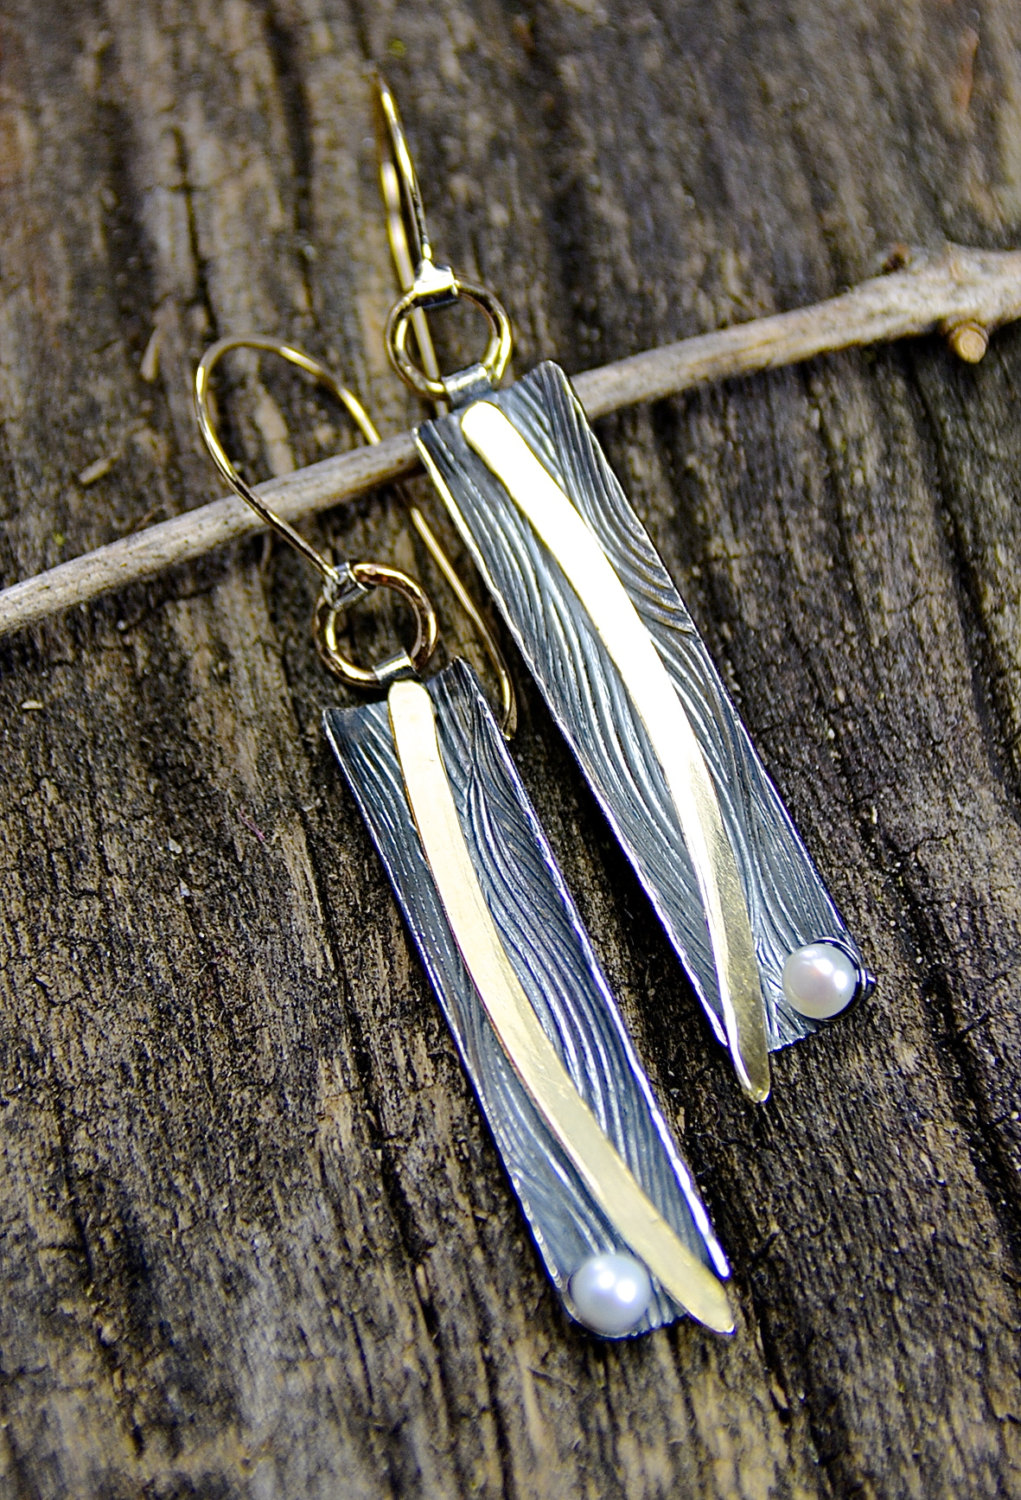
Alrighty! This is my second post finishing up the below earrings. You can find the first post here.

 My teacher asked me once, "Carol, why do you make so much work for yourself?" Well, that made me think. How am I making more work for myself and more importantly how the heck not to??  There are so many different ways to buff, polish, finish, texture, etc..that my little brain became confused and overwhelmed with all the different options. I sat down, did some research, listened to my teacher and watched Nancy Hamiltons videos. She has a great one here on finishing techniques. So for this post I am going to break down the process that works for me. Keep in mind you may choose to do something totally different. There are so many options out there, that you get to choose your own workflow, one that you are comfortable with and what works for you.

Ok, finishing up the earrings. With these next steps it is very important to wear goggles and a dust mask. Also, if you are headed out to run errands after, make sure you wash your face! Oh yes, I have forgotton.

Step ten
For the next step, which is my first step in finishing, I use a cratex wheel and flex shaft to remove the solder and any firescale. Firescale is the icky purplish stuff that comes up to the surface of the metal. Some designers use a process called depletion gilding for sterling silver to remove firescale. I haven't figured this out yet, so for now I just use Cratex. You can find individual ones to try here. The one pictured is the red Cratex which is a fine grit. Cratex comes in other grits and also different shapes for the types of pieces you are working on.

Another popular option is to use a slotted mandrel and wrap a strip of sandpaper around it. I tried this technique twice. The first time sandpaper flew all over my studio, and the second time...well, I FORGOT to put my hair up. OMG...it got stuck in the mandrel and instantly created a dreadlock on the whole right side of my head. I was so freaked out I kept pushing the flex shaft pedal and screamed like a dork. Yep! It took me about an hour to untangle my hair! Needless to say, I am currently turned off to the slotted mandrel, sandpaper technique.

If I  haven't soldered or used Cratex, I will just throw a bunch of pieces into the tumbler to polish.

Step eleven
After the Cratex, I will use Tripoli and a buffing wheel. Tripoli is a compound that is slightly abrasive and leaves a dull finish on the piece. Why yes, I did purchase this buffing wheel from Harbor Freight. It would be nice to have another in the studio like this, with the tapered spindles for easy removal of buffing wheels. Maybe some day.
This is what the pieces look like after tripoli. I don't use the finger cots or tape because I am a glutton for punishment. The metal gets super hot though, so sometimes I use a ring clamp to hold my work. 

To clean the metal you can use a crockpot with a basket. You use a mixture of water, ammonia and dish soap. Then take a soft bristle brush to scrub the metal clean. OR you can use an ultrasonic cleaner. 
Here is mine. THIS machine is AMAZING. Look at how fast it cleans the metal! Again, a MAJOR time saver. I use a mix of water, ammonia and the sonic cleaner powder for maximum cleaning! 

Step twelve
I then used the above hammers to texture the metal. If I wanted the metal to have a mirror finish, I would use the Rouge wheel after hammering. For these earrings though, I wanted a more rough texture and used the fiber wheel below.

Step thirteen
Here is the metal after a nice hot bath of liver of sulfur. I love how each metal changes a different color.
I then used an extra-fine mini fiber wheel to remove the oxidation in the areas where I wanted to highlight the metal and to give a light brushed look. To finish these earrings I sprayed with Clear Guard Lacquer, used a hole punch, and attached my handmade earwires. I usually don't spray sterling silver, but when used with other metals I do. 

So there you have my basic finishing workflow! Here are some additional tools for you to try.

My finishing kit arsenal
I made this kit with graphs of grits taped to the lid for reference. Sometimes pieces require special finishing such as ring bands or pieces with tight spots. (You can use a slotted ring mandrel with sandpaper also if you are brave). 

Here are the items in my kit.
3m Radial Bristle Discs in various sizes and grits

Also, here are some sanding wheels I learned how to use from Nancy Hamiltion. You use all items listed below together.
PSA Quick-Change sanding discs in various grits.

Basically you put the sanding discs on top of the Magnum and score the center. You then snap it on the mandrel. What's nice about using these, is the Magnum is plastic-backed so you can bend it when sanding, therefore you have better control. Nancy talks about how to use them in her video. I really like using these!

I hope you picked up a few tricks on finishing and therefore don't spin your wheels in the studio like I used to do! So how do you finish your work? Do you have any tips or tricks you would like to share?  Please feel free to leave a comment!

In closing, I wanted to share something that isn't really thought about too much during the Fourth of July holiday. Animals. Wild or domesticated, they get super scared and freak out during our celebration. If you can, place animals in a quiet place and also consider livestock or wild creatures that may be around. I wanted to mention this because of the wonderful conservation efforts of Karen McGovern. I know she will be taking care of her animals and making sure they are ok during all the fireworks. Thank you so much for all your hard work Karen!

I hope everyone has a safe and happy Fourth of July!

face
Related Posts Plugin for WordPress, Blogger...